Blog
Barudan Embroidery Machine: Needle Breaking Troubleshooting Guide

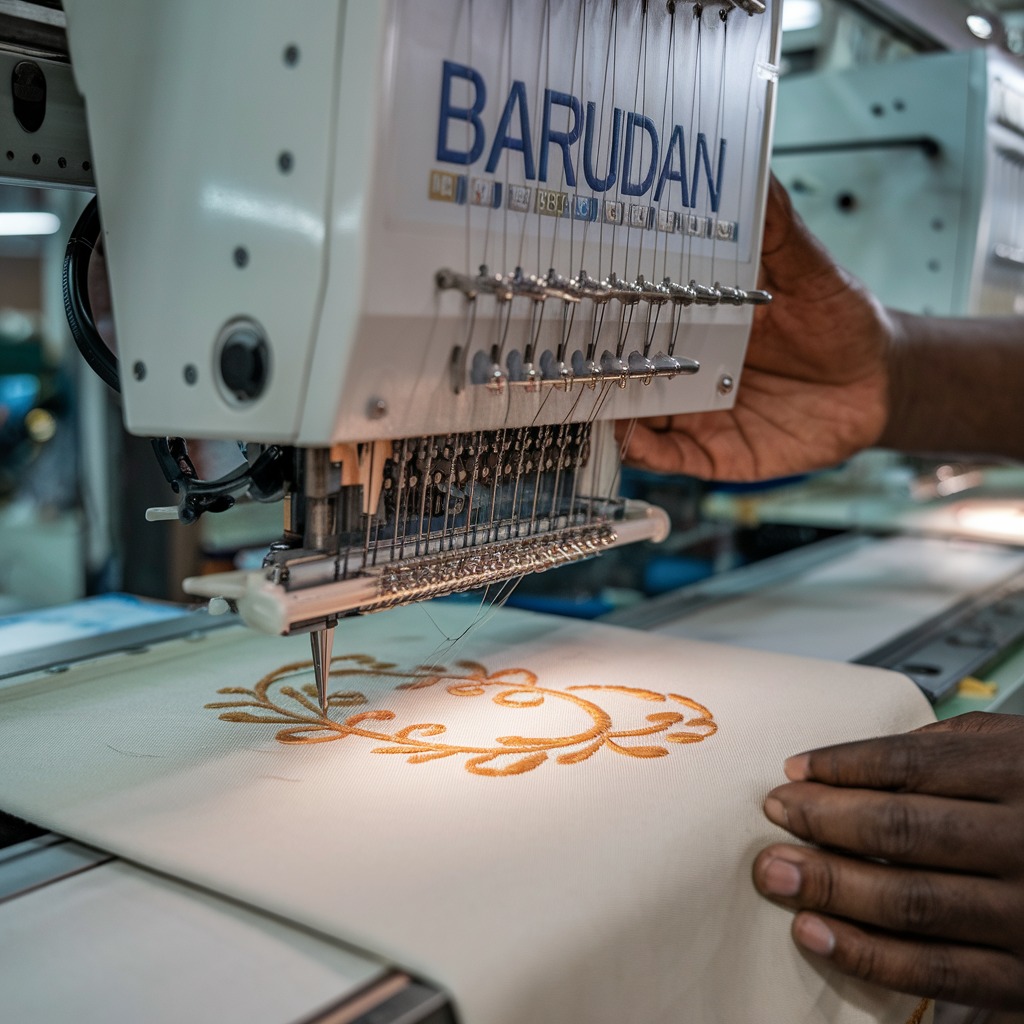
Quick answer: Needle breaking on a Barudan embroidery machine is most often caused by incorrect needle installation, using the wrong needle type/size, improper thread tension, or the needle striking the hoop or throat plate. Systematically check these common issues to resolve the problem.
Needle breakage is a common frustration for Barudan embroidery machine operators, leading to downtime and potential damage to projects. This guide provides practical, step-by-step solutions to diagnose and fix the most frequent causes of needle breaking, helping you maintain smooth and efficient embroidery operations.
Two-minute checks before you open anything
- Is the needle installed correctly with the flat shank facing the rear and fully seated?
- Is the correct needle type and size being used for the fabric and thread?
- Is the fabric hooped securely and flat, without puckering or shifting?
- Are the upper and bobbin thread tensions balanced and appropriate for the materials?
- Is the needle bent, dull, or damaged? Replace it if any wear is visible.
1. Improper Needle Installation high likelihood
How to tell
The needle may appear visibly crooked, hit the throat plate, or break immediately upon starting. You might hear a 'clunk' as it strikes a hard surface.
Fix
- Turn off the machine power.
- Loosen the needle clamp screw for the affected needle bar.
- Remove the old needle.
- Insert a new, correct needle fully upwards into the needle bar, ensuring the flat side of the needle shank faces directly to the rear of the machine.
- Gently push the needle up until it seats firmly against the stop.
- Tighten the needle clamp screw securely. Do not overtighten, but ensure the needle cannot be pulled down by hand.
- Manually turn the main shaft (handwheel) to cycle the needle through its full motion, observing for any contact with the throat plate or rotary hook.
Refer to assembly sections like 'Needle bar A(Z12)', 'Needle bar A (Z15)', 'Needle bar B', 'Needle bar C', 'Needle bar D' for needle bar components.
Parts involved: Needles & needle bars → Screws, springs & small parts → Head & mechanical parts →
2. Incorrect Needle Size or Type high likelihood
How to tell
The needle may struggle to penetrate the fabric, resulting in skipped stitches, fabric damage, or a 'popping' sound before breaking. Fine needles break on dense materials; thick needles may damage delicate fabrics.
Fix
- Identify the fabric type and thickness, and the thread weight being used.
- Consult your Barudan machine's manual or a reliable needle chart for the recommended needle size (e.g., 75/11, 90/14) and point type (e.g., sharp, ballpoint) for your specific materials.
- Replace the currently installed needle with the correct size and type. For dense fabrics, a larger, stronger needle (e.g., 90/14 or 100/16) with a sharp point is often required. For delicate fabrics, a smaller needle (e.g., 65/9 or 70/10) with a ballpoint may be suitable.
Needle selection is crucial for optimal performance.
Parts involved: Needles & needle bars → Threads & supplies →
Parts you may need for Barudan
In stock, tested before dispatch, Buyer Protection on every order. Part types for this problem: Needles & needle bars, Screws, springs & small parts, Head & mechanical parts, Threads & supplies.
 Groz Beckert RG DBXK5 Embroidery Needles Nm 65/9, 70/10, 75/11, 80/...$ 36.29View part →
 Hirose HSH-7.94ATR(MTQ) KHS12-RYP Rotary Hook for Tajima, Barudan, ...$ 18.09View part →
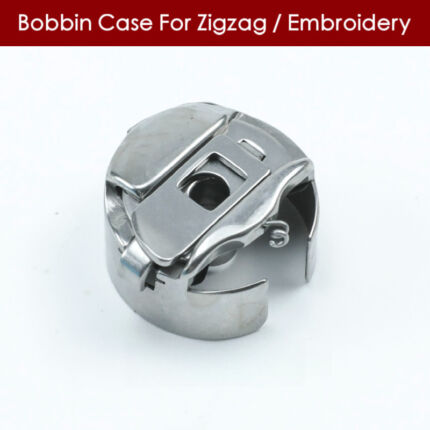 Industrial BC-DBZ(1)-NBL6 Bobbin Case for Barudan TZ1 LE2, Brother ...$ 7.49View part →
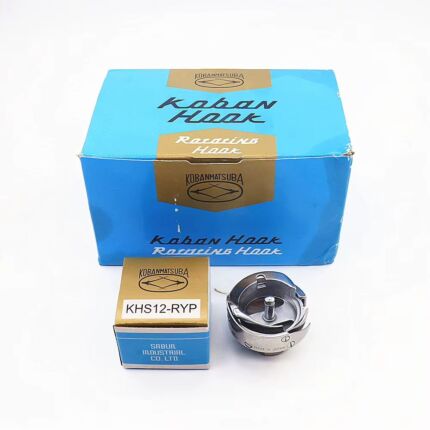 Koban KHS12-RYP Rotary Hook with Trimmer for Tajima, Barudan, SWF, ...$ 33.49View part →
 BC-DBZ(1)-NBL6 Bobbin Case for Barudan TZ1, Brother BAS-400, JUKI L...$ 7.49View part →
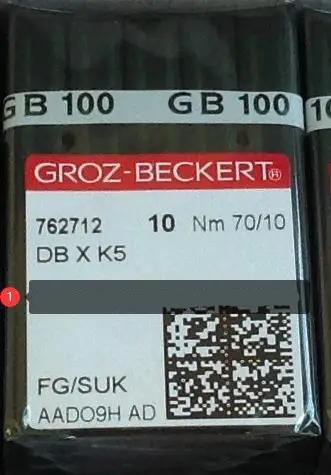 Groz-Beckert DBXK5 FG/SUK Embroidery Needles (100 Pcs) for Tajima, ...$ 34.49View part →
All Barudan parts → Needles & Needle Bars → Screws, Springs & Small Parts → Head & Mechanical Parts →
3. Worn or Damaged Needle high likelihood
How to tell
Visually inspect the needle. Look for a bent shaft, a dull or burred point, or any visible damage to the eye. A damaged needle can cause thread fraying, skipped stitches, and eventually break.
Fix
- Turn off the machine power.
- Loosen the needle clamp screw and remove the needle.
- Carefully inspect the needle under good light. Run a fingernail gently along the shaft and tip to feel for burrs or roughness.
- Replace the needle with a new, correct needle. It is good practice to change needles regularly, typically after 8-10 hours of continuous embroidery or after completing a large, dense design.
Regular needle replacement is part of routine maintenance.
Parts involved: Needles & needle bars →
4. Improper Thread Tension medium likelihood
How to tell
If upper thread tension is too tight, the needle will be under excessive strain, especially during penetration and pull-up, leading to breakage. Stitches may appear pulled or puckered. If bobbin tension is too tight, it can also contribute to needle strain.
Fix
- Perform a tension test on a scrap piece of the same fabric and stabilizer.
- Adjust the upper thread tension dial for the affected needle. Turn the dial counter-clockwise to decrease tension (loosen) or clockwise to increase tension (tighten) in small increments (e.g., 1/4 turn).
- Check bobbin tension. The bobbin case should drop a few inches when held by the thread and given a slight tug (drop test). Adjust the small screw on the bobbin case if necessary, making very small adjustments.
- Aim for balanced tension where the bobbin thread shows about 1/3 on the underside of the top stitch, and the top thread shows about 1/3 on the top side of the bobbin stitch.
Tension assemblies are typically found in the 'Thread guide' and 'Head Bed' sections. Bobbin cases are part of the rotary hook assembly.
Parts involved: Thread path & tension → Rotary hooks & bobbin cases →
5. Needle Hitting the Hoop or Presser Foot medium likelihood
How to tell
You will hear a distinct 'clunk' or 'snap' as the needle strikes the hoop frame or the presser foot. The needle often breaks near the eye or shank. Visible impact marks may be present on the hoop or presser foot.
Fix
- Turn off the machine power.
- Inspect the hoop for any damage or warping. Ensure the fabric is hooped securely and taut, without any slack or wrinkles.
- Verify the design placement. Ensure the design is not positioned too close to the hoop's inner edge. Use the machine's trace function to check the design boundaries relative to the hoop.
- If the design is too large for the current hoop, select a larger hoop.
- Check the presser foot (needle plate foot). Ensure it is not bent or misaligned. If it is, replace or adjust it according to the Barudan service manual. Ensure the needle is passing cleanly through the presser foot opening.
Hoops are accessories. Presser feet are part of the 'Head Bed' or 'Needle bar' assemblies.
Parts involved: Hoops & frames → Presser feet & sewing parts → Needles & needle bars →
6. Fabric Bunching or Poor Stabilization medium likelihood
How to tell
The needle encounters resistance as it tries to penetrate bunched or unstable fabric, causing it to bend or break. Stitches may appear distorted or uneven. The fabric may shift during embroidery.
Fix
- Remove the hoop from the machine.
- Unhoop the fabric and stabilizer.
- Select the appropriate stabilizer for your fabric type and design density. Use a cut-away stabilizer for stretchy fabrics, tear-away for stable fabrics, and multiple layers or heavy-duty stabilizer for dense designs or thick materials.
- Re-hoop the fabric and stabilizer together, ensuring the fabric is taut and flat in the hoop, without puckers or wrinkles. The stabilizer should be firmly secured with the fabric.
- Ensure the hoop is properly seated and locked into the machine's pantograph arms.
Proper hooping technique is critical.
Parts involved: Threads & supplies → Hoops & frames →
7. Needle Hitting Excessive Layers of Fabric or Adhesive low likelihood
How to tell
This occurs when embroidering on very thick materials, multiple fabric layers, or through dense adhesive backing. The needle struggles to penetrate, leading to increased stress and breakage. You may hear a 'thud' or feel resistance.
Fix
- For thick or multi-layered fabrics, use a larger, stronger needle (e.g., 90/14, 100/16) with a sharp point designed for heavy-duty penetration.
- Consider reducing the machine speed when embroidering through very dense materials to lessen impact stress.
- If using spray adhesive, apply it sparingly and allow it to dry slightly before hooping to prevent the needle from gumming up or encountering excessive resistance.
Needle selection is key for specialized materials.
Parts involved: Needles & needle bars → Threads & supplies →
8. Poor Quality Thread or Fabric low likelihood
How to tell
Poor quality thread can fray, knot, or create excessive friction, increasing strain on the needle. Unsuitable fabric (too stiff, rough, or dense for the needle) can also cause breakage. You may observe frequent thread breaks or fabric damage.
Fix
- Always use high-quality embroidery thread specifically designed for machine embroidery. Inferior threads can have inconsistencies that lead to problems.
- Ensure the fabric is appropriate for machine embroidery and the chosen needle type. Pre-test on a scrap if unsure.
- If using metallic or specialty threads, reduce machine speed and consider using a larger needle with a larger eye (e.g., a metallic needle) to reduce friction.
Material quality directly impacts machine performance.
Parts involved: Threads & supplies → Needles & needle bars →
Stop and call a technician if
- If the needle bar itself appears bent or has excessive play.
- If the needle consistently hits the rotary hook or bobbin case, indicating a timing issue.
- If you suspect a mechanical misalignment within the head that cannot be resolved by simple adjustments.
- If the machine displays error codes related to head movement or needle position that you cannot clear.
Prevent it coming back
- Always use the correct needle size and type for your fabric and thread combination.
- Ensure needles are installed correctly, fully seated, and securely tightened with the flat shank facing the rear.
- Regularly inspect and replace needles, especially after long projects or if any wear is visible.
- Maintain proper upper and bobbin thread tension, ensuring they are balanced.
- Hoop fabrics securely and tautly with appropriate stabilizer, avoiding wrinkles or slack.
- Verify design placement to prevent the needle from striking the hoop or presser foot.
- Use high-quality embroidery threads and suitable fabrics for your projects.
Frequently asked questions
How often should I change the needle on my Barudan machine?
It's generally recommended to change your needle after every 8-10 hours of continuous embroidery, or sooner if you notice any signs of wear, dullness, bending, or if you've been working with tough or dense fabrics.
What does it mean if my needle keeps hitting the throat plate?
If your needle is hitting the throat plate, it's usually due to improper needle installation (not fully seated or flat side facing wrong direction), a bent needle, or a misaligned needle bar. Check the needle first, then inspect the needle bar for any play or misalignment.
Can incorrect bobbin tension cause needle breakage?
Yes, if the bobbin tension is too tight, it can put excessive strain on the needle as it pulls the bobbin thread through the fabric, contributing to needle breakage. Ensure both upper and bobbin tensions are balanced.
Why does my needle break only on certain parts of the design?
If needle breakage is specific to certain areas of a design, it often indicates an issue with design density in that area, the needle hitting a hoop edge, or fabric bunching/puckering in that specific spot. Check your hooping, design placement, and stabilizer.
From the Barudan BEVT-Z1501CII parts book
The assemblies involved in this problem, as the manufacturer lists them. Open a section to see every part number, which ones we stock, and get a price on the rest.
- 01a Head Bed A36 parts · 4 in stock
- Head Bed A30 parts · 4 in stock
- 01 A Head Bed A30 parts · 4 in stock
- 02c Thread Cut C22 parts · 4 in stock
- 04b Needle Bar B35 parts · 3 in stock
- 02a Thread Cut A36 parts · 1 in stock
Reference book: Barudan BEVT-Z1501CII. Part numbers differ by model - search yours below and we will confirm fit.
Did this guide fix your machine?
Rate it - it helps other operators find the right fix.
Not sure which part is failing?
Need the logo stitched too?
Get your logo digitized by the people who know this machine
Upload the artwork, see the stitch count and the exact price in 10 seconds, then order with a free sew-out preview. $1 per 1,000 stitches, $10 minimum, 24-hour delivery. Vector conversion from $12.
After the fix
Fixed it? Keep the rest of the shop moving.
OS 360 is the shop software from the team behind this parts store. Every job keeps its status, deadline and owner while a Barudan head is down, restock alerts fire for needles, hooks and bobbins before you run dry, and quotes, invoices and payment live in one place.
- Jobs with status, deadline and owner - nothing slips during downtime
- Inventory with restock alerts, this store one click away
- Instant quotes, invoices and one place to collect payment