
Blog
Tajima TMBR Series: Common Problems & Fixes Guide


Quick answer: Most common Tajima TMBR issues like thread breaks, skipped stitches, and poor stitch quality can often be resolved by checking thread path, tension, needle condition, and machine timing. Regular maintenance and using quality parts are key to preventing downtime.
The Tajima TMBR series is a workhorse in the embroidery industry, known for its reliability and precision. However, like any complex machinery, operators may encounter common issues that can interrupt production. This guide provides practical troubleshooting steps for the most frequently reported problems on the TMBR series, helping you diagnose and fix issues quickly to minimize downtime. We'll cover everything from simple thread breaks to more complex timing adjustments, with a focus on identifying the parts that might be involved.
Two-minute checks before you open anything
- Is the machine plugged in and powered on?
- Is the emergency stop button disengaged?
- Is the thread path clear and correctly threaded?
- Is the bobbin correctly inserted and wound?
- Is the needle new, correctly inserted, and free of damage?
- Is the fabric properly hooped with appropriate backing?
- Are all machine covers and safety guards closed?
1. Frequent Thread Breaks or Skipped Stitches high likelihood
How to tell
The machine stops unexpectedly during embroidery, displaying a thread break error, or stitches appear incomplete and uneven. You may see loose or tangled thread on the top or bottom of the fabric.
Fix
- Check the thread path for any snags, tangles, or obstructions. Ensure thread is correctly seated in all guides and tension discs.
- Inspect the needle for bends, burrs, or dullness. Replace the needle if any damage is found. Ensure the needle is inserted correctly with the scarf facing the rotary hook.
- Adjust upper thread tension. If stitches are looping on top, increase tension; if looping on bottom, decrease tension. Check bobbin tension as well.
- Clean the bobbin case and rotary hook area of any lint or debris. Ensure the bobbin is wound correctly and inserted properly.
- Verify the presser foot height is appropriate for the fabric thickness. Too high or too low can affect stitch formation.
A bent or damaged needle bar can also cause repeated thread breaks and skipped stitches. Consider inspecting the Tajima EF053202S000 Needle Bar Reciprocator Assembly if issues persist after needle replacement.
Parts involved: Needles & needle bars → Thread path & tension → Rotary hooks & bobbin cases → Presser feet & sewing parts → Screws, springs & small parts →
2. Poor Stitch Quality (Looping, Puckering, Uneven Stitches) medium likelihood
How to tell
Embroidery appears messy, with loops visible on the top or bottom of the fabric, fabric gathering or puckering around the design, or stitches that are inconsistent in length or density.
Fix
- Adjust both upper and bobbin thread tension. The goal is a balanced stitch where the bobbin thread appears as a thin line on the underside of the top stitching.
- Ensure the fabric is hooped correctly – taut like a drum, but not stretched. Use appropriate backing for the fabric type and design density.
- Change the needle. A worn or incorrect needle size/type can significantly impact stitch quality.
- Clean the thread path, tension discs, and bobbin area thoroughly to remove any lint or debris that might be affecting thread flow.
- Check the presser foot height and ensure it is not too high or too low for the material being embroidered.
Parts involved: Thread path & tension → Needles & needle bars → Hoops & frames → Rotary hooks & bobbin cases → Presser feet & sewing parts →
Parts you may need for Tajima TMBR
In stock, tested before dispatch, Buyer Protection on every order. Part types for this problem: Needles & needle bars, Thread path & tension, Rotary hooks & bobbin cases, Presser feet & sewing parts.
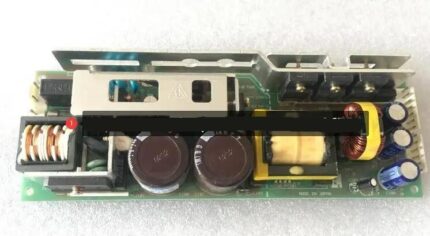 Tajima PB0025A1PW00 Power Supply 150W 24V for TEHX-C1501, TMEZ, TMA...$ 140.99View part →
 Tajima EF053202S000 Needle Bar Reciprocator Assembly for TMFX, TFMX...$ 18.09View part →
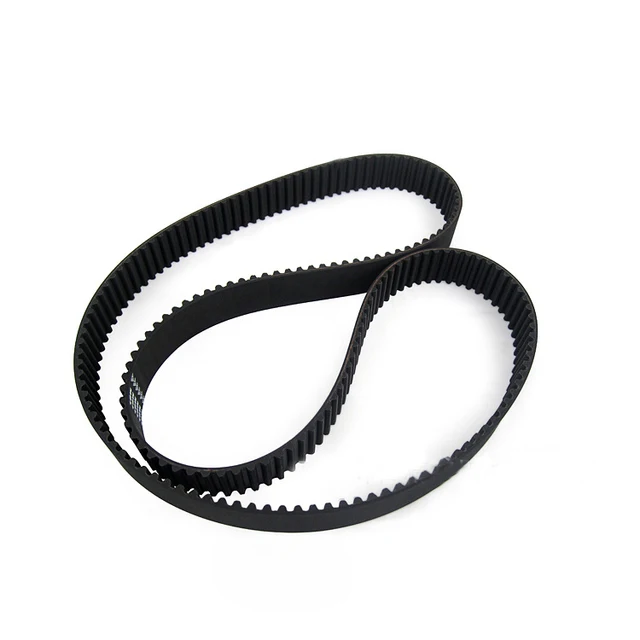 W20-S5M0950/G Timing Belt for Tajima TFMX TMAR TMEZ TMBR TEJT Series$ 72.99View part →
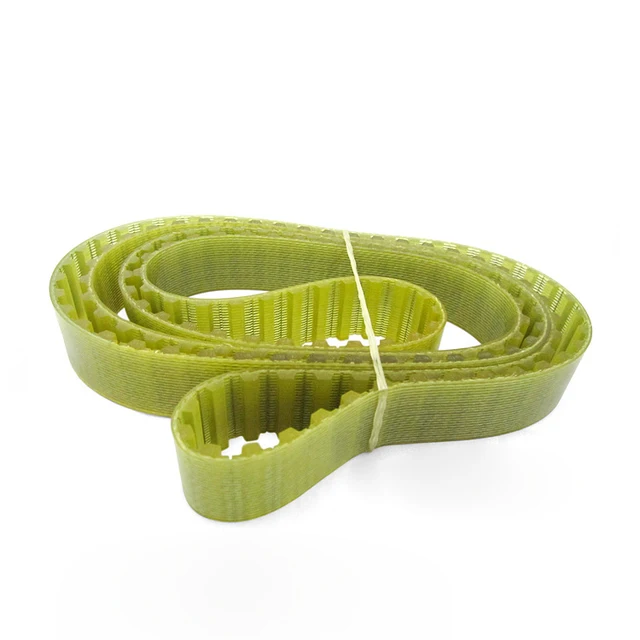 Tajima TU10 W25-170/E Timing Belt 626400260000 BPT102517000 for TMA...$ 567.29View part →
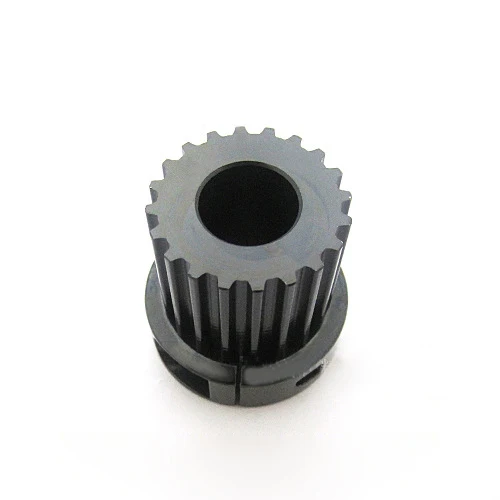 Tajima 501454040S13 W25-20 Timing Pulley for TFMX, TFMX-IIC, TFMX-C...$ 553.49View part →
 TAJIMA DU-10 XY Driver Board EH5404000000 MP-117-1-A for TME-HC, TM...$ 156.49View part →
All Tajima TMBR parts → Needles & Needle Bars → Thread Path & Tension → Rotary Hooks & Bobbin Cases →
3. Machine Timing Issues (Needle Hitting Hook, Loud Noises) medium likelihood
How to tell
A distinct knocking sound during operation, repeated needle breaks, or the needle visibly hitting the rotary hook or needle plate. Machine may stop with a timing-related error code.
Fix
- First, check for a bent or improperly inserted needle. Replace if necessary.
- Inspect the needle bar height. If it's too high or too low, it can cause timing conflicts. Refer to your machine's manual for the correct setting and adjustment procedure.
- Examine the rotary hook for damage or excessive wear. A burr or chip can interfere with the needle. Clean the hook area thoroughly.
- Check the timing belts for wear, looseness, or damage. A stretched or broken belt can throw off machine timing. Inspect the W20-S5M0950/G Timing Belt and Tajima TU10 W25-170/E Timing Belt 626400260000 BPT102517000.
- Inspect the timing pulleys for wear or looseness. The Tajima 501454040S13 W25-20 Timing Pulley should be securely fastened and free of damage.
Accurate timing adjustments often require specialized knowledge and tools. If you are unsure, it's best to consult a qualified technician. Components like the Tajima EF053202S000 Needle Bar Reciprocator Assembly may need replacement if severely damaged.
Parts involved: Needles & needle bars → Rotary hooks & bobbin cases → Belts, pulleys & gears → Head & mechanical parts → Shafts, bearings & bushings →
4. Machine Not Powering On or Intermittent Power low likelihood
How to tell
The machine does not turn on when the power switch is flipped, or it powers on and then unexpectedly shuts down. Control panel may be blank.
Fix
- Verify the power cord is securely plugged into both the machine and a working electrical outlet.
- Check the circuit breaker on the machine and at the electrical panel. Reset if tripped.
- Inspect the power switch for any visible damage or looseness.
- If the machine powers on intermittently or not at all, the power supply unit may be failing. Consider inspecting or replacing the Tajima PB0025A1PW00 Power Supply 150W 24V for TEHX-C1501, TMEZ, TMAR, TMBR-SC Embroidery Machines.
Electrical troubleshooting can be dangerous. Always ensure the machine is unplugged before inspecting internal components. If you suspect a faulty power supply, replacement is usually the most straightforward fix.
Parts involved: Cables & wiring → Circuit boards & electronics →
Maintenance schedule
| When | What to do | Why |
|---|---|---|
| Daily | Clean rotary hook and bobbin case area, needle plate, and thread path. | Removes lint and debris that can cause thread breaks and poor stitch quality. |
| Daily | Oil specified lubrication points (refer to manual). | Ensures smooth operation of moving parts and prevents premature wear. |
| Weekly | Clean under the needle plate and around the presser foot. | Prevents buildup that can affect stitch formation and fabric movement. |
| Monthly / Every 100-200 production hours | Inspect timing belts and pulleys for wear or damage. | Proactive replacement prevents timing issues and costly repairs. |
| Quarterly / Every 500 production hours | Check and adjust thread tensions (upper and bobbin). | Maintains optimal stitch quality and prevents thread breaks. |
| Annually / Every 2000 production hours | Professional service and calibration. | Ensures all machine parameters are within factory specifications for peak performance and longevity. |
Stop and call a technician if
- If you are unable to resolve a timing issue after basic checks, as incorrect adjustments can cause further damage.
- If the machine is making unusual grinding or clunking noises that you cannot identify or fix.
- If there are persistent electrical issues, such as power fluctuations or error codes related to motors or circuit boards.
- If you suspect a major component like a main motor or control board is faulty.
- For any issue that requires disassembly beyond routine maintenance or if you are uncomfortable performing a repair.
Prevent it coming back
- Perform daily cleaning of the rotary hook, needle plate, and thread path to remove lint and debris.
- Regularly oil all specified lubrication points according to the manufacturer's recommendations in your manual.
- Use high-quality needles appropriate for your fabric and thread type, and replace them frequently (e.g., every 8-10 hours of sewing or after a major thread break).
- Ensure proper thread tension for both upper and bobbin threads to prevent stitch quality issues.
- Always hoop fabric correctly, ensuring it is taut but not overstretched, and use appropriate backing.
- Inspect timing belts and pulleys periodically for wear or damage, replacing them before they fail.
Frequently asked questions
Why does my Tajima TMBR keep breaking needles?
Needle breaks are often caused by incorrect needle insertion, a bent or dull needle, incorrect machine timing (needle hitting the rotary hook or needle plate), insufficient hooping, or a damaged needle bar. Check these areas first.
How often should I oil my Tajima TMBR machine?
Regular oiling is crucial. Refer to your Tajima TMBR operator's manual for specific oiling points and frequency. Generally, daily oiling of the rotary hook and other specified moving parts is recommended, especially during heavy use.
What does a 'thread break' error mean on my TMBR?
A thread break error indicates that the machine's sensor detected a loss of thread. This can be due to the thread actually breaking, running out of thread, a knot in the thread, incorrect tension, or an issue with the thread path or needle.
Can I use any brand of needle in my Tajima TMBR?
While many brands make embroidery needles, it's critical to use the correct needle system (e.g., DBxK5) and size recommended by Tajima for your TMBR series. Using incorrect needles can lead to skipped stitches, thread breaks, and even machine damage.
Did this guide fix your machine?
Rate it - it helps other operators find the right fix.
Not sure which part is failing?
Need the logo stitched too?
Get your logo digitized by the people who know this machine
Upload the artwork, see the stitch count and the exact price in 10 seconds, then order with a free sew-out preview. $1 per 1,000 stitches, $10 minimum, 24-hour delivery. Vector conversion from $12.
After the fix
Fixed it? Keep the rest of the shop moving.
OS 360 is the shop software from the team behind this parts store. Every job keeps its status, deadline and owner while a TMBR head is down, restock alerts fire for needles, hooks and bobbins before you run dry, and quotes, invoices and payment live in one place.
- Jobs with status, deadline and owner - nothing slips during downtime
- Inventory with restock alerts, this store one click away
- Instant quotes, invoices and one place to collect payment