
Blog
Tajima TMAR Series: Essential Maintenance Schedule & Wear Parts Guide

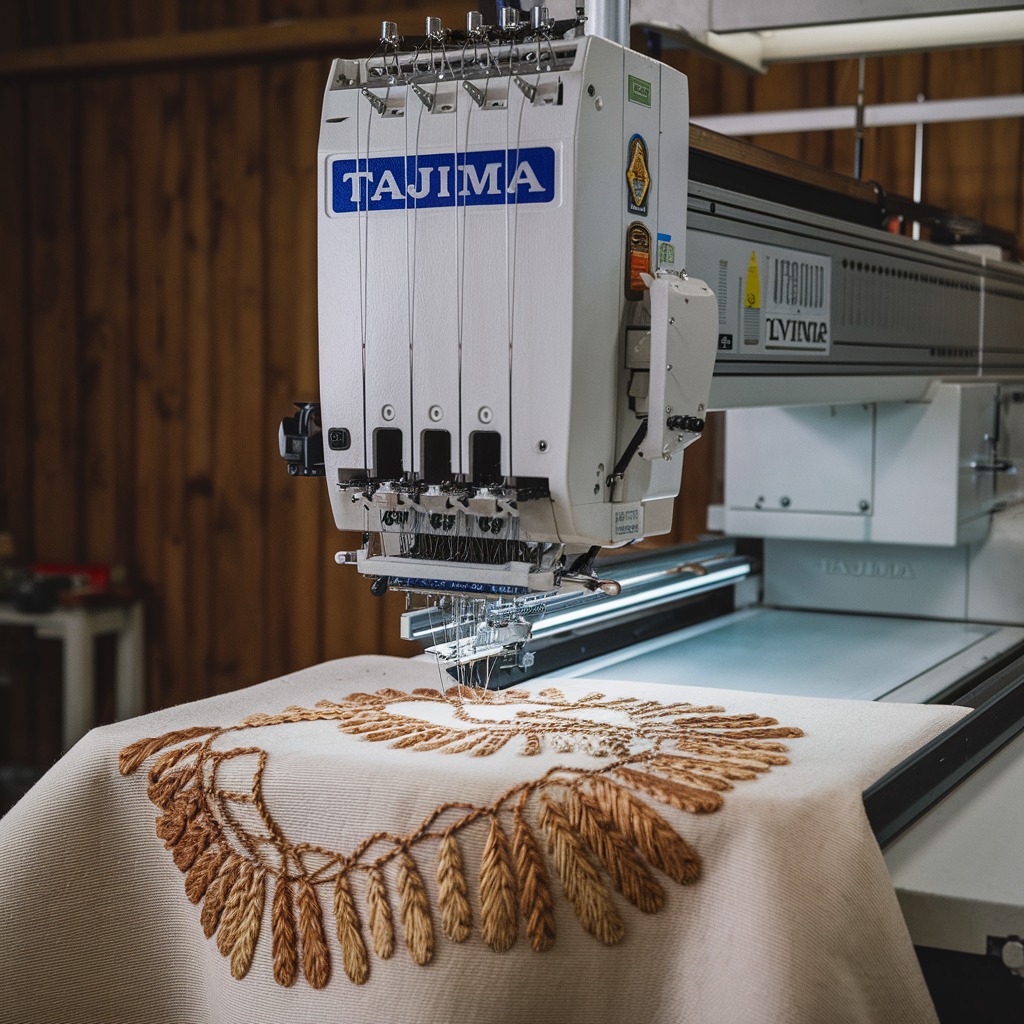
Quick answer: Regular maintenance, including cleaning, lubrication, and timely replacement of wear parts like rotary hooks, timing belts, and thread sensors, is crucial for optimal performance and longevity of your Tajima TMAR machine.
Maintaining your Tajima TMAR series embroidery machine is key to ensuring its longevity, consistent stitch quality, and minimizing downtime. This guide provides a comprehensive maintenance schedule and identifies common wear parts, helping you keep your machine in top working condition. Regular cleaning, lubrication, and timely replacement of worn components are essential practices for any TMAR operator.
Two-minute checks before you open anything
- Check for any loose threads or lint around the needle, presser foot, and rotary hook area.
- Listen for unusual noises during operation.
- Observe stitch quality for any inconsistencies or skipped stitches.
- Verify that all thread paths are clear and free of obstructions.
- Check the bobbin level and ensure it's wound correctly.
1. Rotary Hook (KHS20-R or KHS20-RYP2) high likelihood
How to tell
Frequent thread breaks, skipped stitches, bird's nesting, poor stitch quality, excessive noise from the hook area. Inspect the hook point and race for burrs, nicks, or damage.
Fix
- Clean the rotary hook and bobbin case area daily, removing lint and debris.
- Inspect the hook point for burrs or damage. Use a jeweler's file to carefully smooth minor burrs, or replace the hook if significantly damaged.
- Check the bobbin case tension and spring. Replace if worn or bent.
- Lubricate the rotary hook as per your machine's manual, typically with a drop of oil at the designated points.
Ensure you use the correct rotary hook model for your TMAR machine, such as KHS20-R Jumbo Rotary Hook or Koban KHS20-RYP2 Rotary Hook Jumbo 2.0X with Trimmer.
Parts involved: Rotary hooks & bobbin cases →
2. Timing Belts (e.g., MBL S5M1270, MBL S5M1225, MBL S5M1160, MBL S5M900, MBL S5M625, Tajima TU10 W25-170/E, Tajima W20-S5M0950/G, Tajima W25-S5M Synchronous Drive Belt, Tajima Genuine MBL Trimming Belt S5M425, Tajima 10mm Synchronous Timing Belt) high likelihood
How to tell
Machine slowing down, inconsistent stitching, unusual noises (squeaking, grinding), visible cracks, fraying, or stretching on the belt surface. Belts may also slip, leading to timing issues or design misalignment.
Fix
- Visually inspect all timing belts for signs of wear, cracking, fraying, or excessive slack.
- Gently press on the belt to check for proper tension. Refer to your machine manual for specific tensioning guidelines.
- If a belt is worn or damaged, carefully remove the old belt and install a new one, ensuring correct alignment and tension.
- After replacement, perform a test sew to confirm proper machine timing and stitch quality.
Tajima TMAR machines use various timing belts for different functions (main shaft, X/Y movement, trimming). Always verify the correct part number and length, such as Genuine Japanese MBL S5M1270 Timing Belt 20mm or MBL S5M1225 Main Shaft Motor Belt 30mm.
Parts involved: Belts, pulleys & gears →
Parts you may need for Tajima TMAR
In stock, tested before dispatch, Buyer Protection on every order. Part types for this problem: Rotary hooks & bobbin cases, Belts, pulleys & gears, Needles & needle bars, Head & mechanical parts.
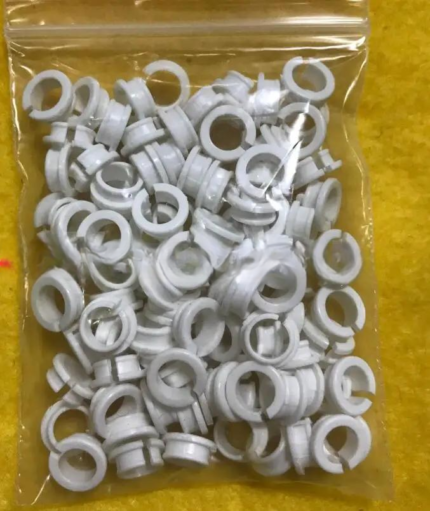 Tajima EF0613220000 EF0613210000 090460040020 090460040031 Presser ...$ 18.09View part →
 KHS20-R Jumbo Rotary Hook for TAJIMA TME-DC, TMFX, TMB, TMAR, TMEZ ...$ 21.29View part →
 Genuine Japanese MBL S5M1270 Timing Belt 20mm for Tajima TFMX, TMAR...$ 68.99View part →
 Tajima Embroidery Machine Gauge for TFMX, TMAR, TFGN, TMEZ Series M...$ 44.09View part →
 Tajima PB0025A1PW00 Power Supply 150W 24V for TEHX-C1501, TMEZ, TMA...$ 140.99View part →
 Tajima W20-16 Timing Belt Pulley CX0170000000 501440030000 S5M 20mm...$ 39.29View part →
All Tajima TMAR parts → Rotary Hooks & Bobbin Cases → Belts, Pulleys & Gears → Needles & Needle Bars →
3. Needle Bar Drive Assembly Iron Cam (080220010A02 U8A300000010) medium likelihood
How to tell
Excessive noise or vibration from the needle bar area, inconsistent needle bar movement, skipped stitches, or needle breaks. Visual inspection may reveal wear or scoring on the cam surface.
Fix
- Carefully inspect the needle bar drive assembly, particularly the iron cam, for signs of wear, scoring, or damage.
- Check for any loose fasteners or excessive play in the assembly.
- If significant wear is present, the Needle Bar Drive Assembly Iron Cam will need to be replaced. This is a more involved repair and may require professional assistance to ensure correct timing and adjustment.
Parts involved: Needles & needle bars → Head & mechanical parts →
4. TC Sensor Card & Thread Contact Set (0J2602300A22 0J2602300A23 FG7204010000 0J2602100010) medium likelihood
How to tell
False thread break errors, machine stopping without a visible thread break, or failure to detect actual thread breaks. This can also manifest as the machine not starting or continuing to sew after a thread break is cleared.
Fix
- Clean the thread contact points and the sensor area with compressed air or a soft brush to remove lint and debris.
- Inspect the thread contact wires for bends, breaks, or corrosion. Gently adjust if bent.
- Check the wiring connections to the TC Sensor Card for looseness or damage.
- If cleaning and inspection do not resolve the issue, the TC Sensor Card & Thread Contact Set may need to be replaced.
Also consider the Tajima ICS131 0J2603200000 Thread Break Sensor & Bracket if your machine uses this type.
Parts involved: Sensors & switches → Circuit boards & electronics →
5. Presser Foot Bushing Guide Collar (EF0613220000 EF0613210000 090460040020 090460040031) low likelihood
How to tell
Uneven stitching, fabric damage, or the presser foot not moving smoothly up and down. You might observe excessive play or wobbling in the presser foot assembly.
Fix
- Inspect the presser foot bushing guide collar for visible wear, cracks, or deformation.
- Check for excessive play in the presser foot's vertical movement.
- If worn, the bushing guide collar should be replaced to ensure proper presser foot function and consistent stitch quality.
Parts involved: Presser feet & sewing parts → Shafts, bearings & bushings →
Maintenance schedule
| When | What to do | Why |
|---|---|---|
| Daily (or every 8-10 hours of operation) | Clean the rotary hook and bobbin case area. | Removes lint and thread debris that can cause thread breaks, skipped stitches, and damage to the hook. |
| Daily (or every 8-10 hours of operation) | Lubricate the rotary hook. | Reduces friction and wear, ensuring smooth operation and extending the life of the hook. |
| Daily (or every 8-10 hours of operation) | Clean under the needle plate. | Prevents lint buildup that can interfere with stitch formation and cause thread jams. |
| Weekly (or every 40-50 hours of operation) | Clean the thread path and tension assemblies. | Ensures consistent thread flow and tension, preventing thread breaks and poor stitch quality. |
| Weekly (or every 40-50 hours of operation) | Inspect needles for sharpness and straightness. | Dull or bent needles cause thread breaks, skipped stitches, and fabric damage. Replace as needed. |
| Monthly (or every 160-200 hours of operation) | Inspect all timing belts for wear, cracks, or fraying. | Worn belts can lead to timing issues, inconsistent stitching, and machine damage. Replace if signs of wear are present. |
| Monthly (or every 160-200 hours of operation) | Clean and inspect thread break sensors (e.g., TC Sensor Card & Thread Contact Set). | Ensures accurate thread break detection and prevents false alarms or missed breaks. |
| Quarterly (or every 500 hours of operation) | Lubricate all major moving parts as per the machine manual. | Reduces friction, prevents premature wear, and ensures smooth operation of mechanical components. |
| Annually (or every 2000 hours of operation) | Inspect the needle bar drive assembly and cams for wear. | Identifies potential issues with needle bar movement that can affect stitch quality and cause needle breaks. Replacement of parts like the Needle Bar Drive Assembly Iron Cam may be necessary. |
Stop and call a technician if
- If you encounter persistent error codes that you cannot resolve with basic troubleshooting.
- If you suspect major mechanical damage, such as a bent shaft or severe motor issue.
- If you are uncomfortable performing a complex repair, such as replacing a needle bar drive assembly or adjusting machine timing.
- For any issues that affect machine safety or could lead to further, more costly damage.
Prevent it coming back
- Always use high-quality needles and threads appropriate for your fabric and design.
- Ensure proper thread tension settings for both upper and bobbin threads.
- Avoid running the machine at excessively high speeds for extended periods, especially with dense designs.
- Keep your work area clean and free of dust and lint, which can clog sensors and mechanical parts.
- Follow the manufacturer's recommended lubrication schedule and use only specified lubricants.
- Train operators on proper machine handling and basic troubleshooting to prevent minor issues from escalating.
Frequently asked questions
How often should I lubricate my Tajima TMAR machine?
Lubrication frequency depends on machine usage. For daily use, key points like the rotary hook should be oiled daily. Other points may require weekly or monthly lubrication. Always refer to your specific Tajima TMAR machine manual for the exact lubrication schedule and recommended oil types.
What causes frequent thread breaks on my TMAR machine?
Frequent thread breaks can be caused by several factors, including a worn or damaged rotary hook, incorrect thread tension, burrs on the needle plate or presser foot, a bent or dull needle, or issues with the thread path sensors. Start by inspecting the rotary hook and thread path for any obstructions or damage.
Can I replace timing belts myself?
Replacing timing belts is possible for an experienced operator, but it requires careful attention to detail to ensure correct tension and machine timing. Incorrect installation can lead to severe machine damage. If you are unsure, it is best to consult a qualified technician or refer to your machine's service manual.
Why is my TMAR machine making unusual noises?
Unusual noises often indicate a mechanical issue. Common culprits include worn bearings, loose components, lack of lubrication, or damaged timing belts or pulleys. Pinpointing the source of the noise is the first step. Stop the machine immediately and investigate to prevent further damage.
How do I clean the thread break sensors?
Thread break sensors, especially the TC Sensor Card & Thread Contact Set, can accumulate lint and debris. Use compressed air to gently blow away dust and lint. For the thread contact points, a soft brush or cotton swab can be used. Avoid using liquids directly on electronic components.
Did this guide fix your machine?
Rate it - it helps other operators find the right fix.
Not sure which part is failing?
Need the logo stitched too?
Get your logo digitized by the people who know this machine
Upload the artwork, see the stitch count and the exact price in 10 seconds, then order with a free sew-out preview. $1 per 1,000 stitches, $10 minimum, 24-hour delivery. Vector conversion from $12.
After the fix
Fixed it? Keep the rest of the shop moving.
OS 360 is the shop software from the team behind this parts store. Every job keeps its status, deadline and owner while a TMAR head is down, restock alerts fire for needles, hooks and bobbins before you run dry, and quotes, invoices and payment live in one place.
- Jobs with status, deadline and owner - nothing slips during downtime
- Inventory with restock alerts, this store one click away
- Instant quotes, invoices and one place to collect payment





