
Blog
Happy HCU Series Embroidery Machine Troubleshooting: Common Problems & Fixes

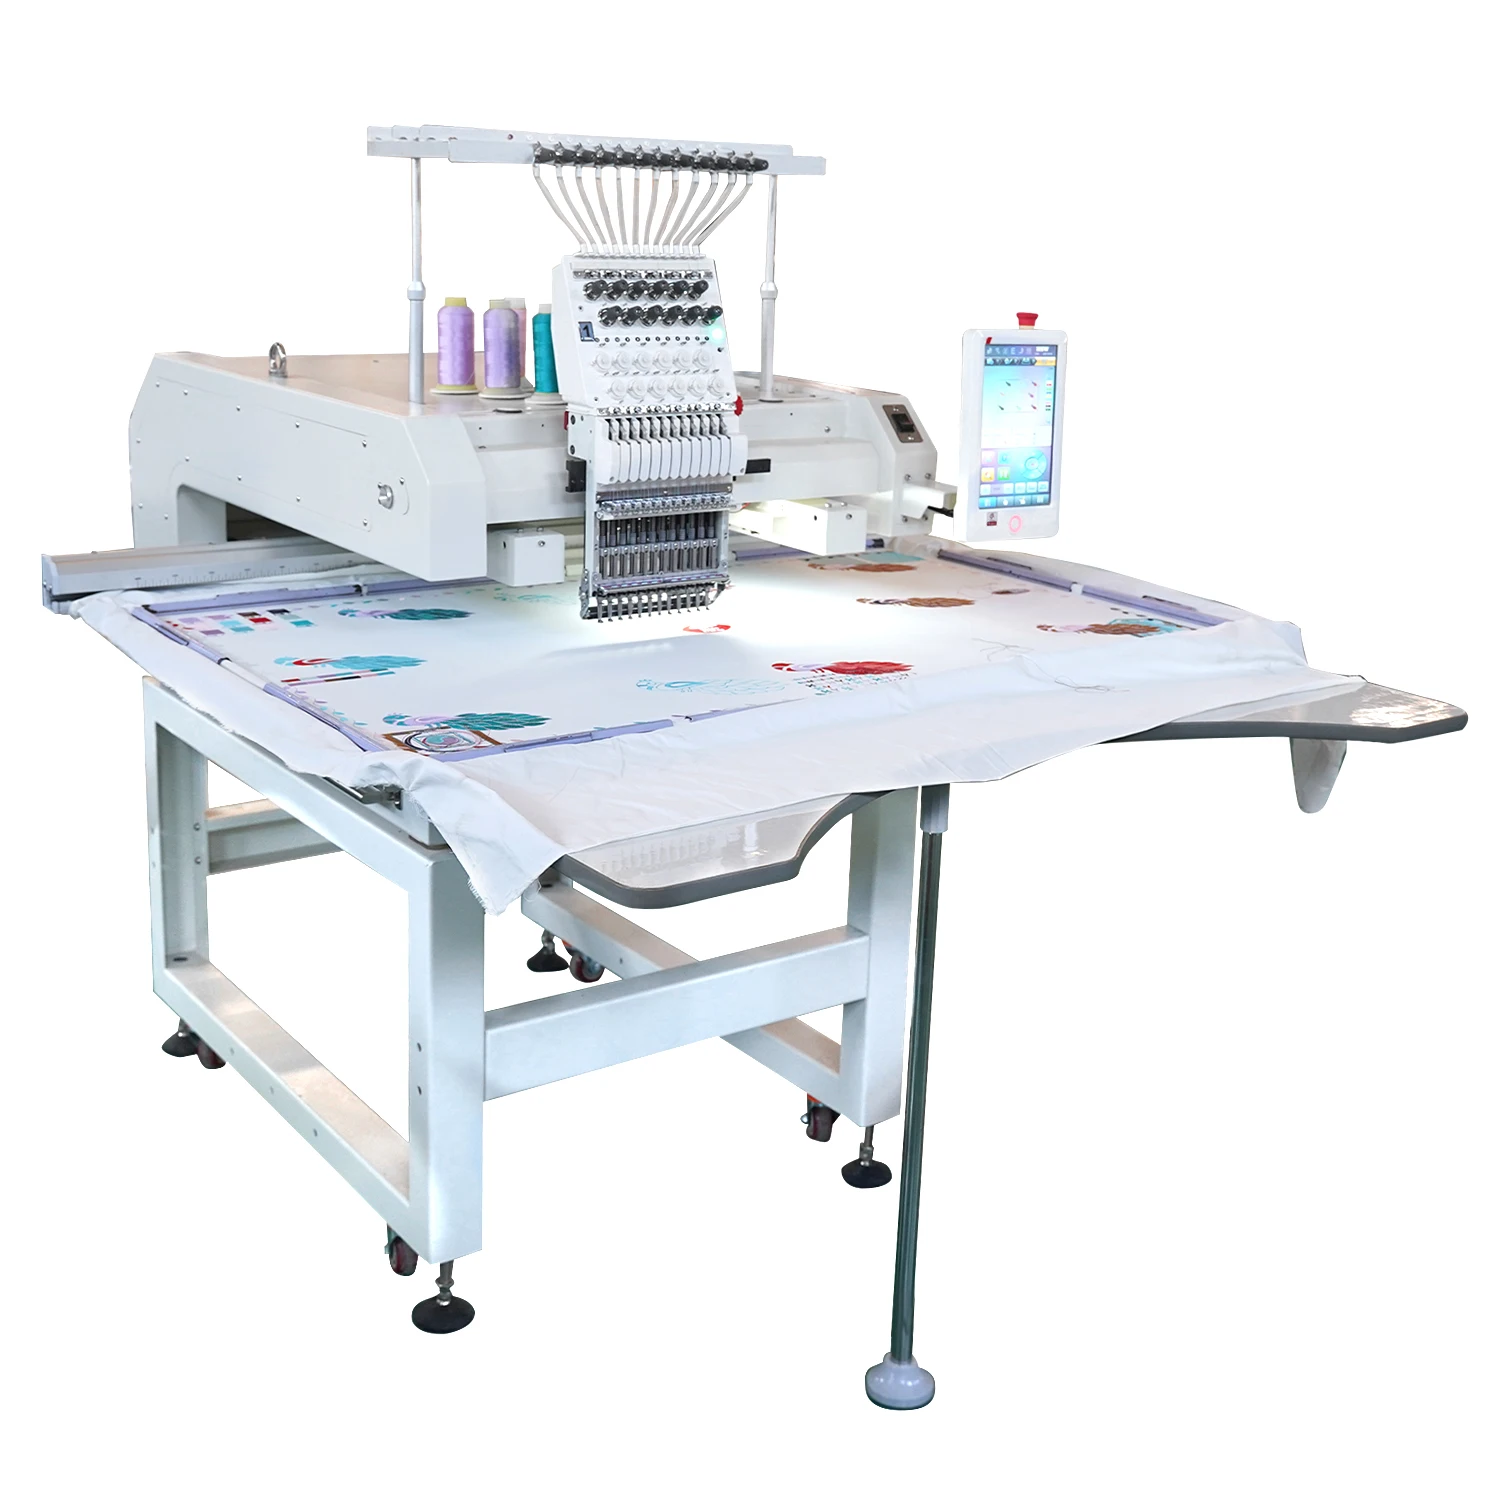
Quick answer: Common Happy HCU series problems include frequent thread breaks, skipped stitches, poor stitch quality, and issues with hooping or data transfer. Most can be resolved by checking thread path, tension, needle condition, hooping, and ensuring proper machine maintenance.
The Happy HCU series embroidery machines are known for their reliability, but like any sophisticated equipment, they can encounter issues. This guide is designed for operators to quickly diagnose and resolve the most common problems you might face, helping you minimize downtime and maintain stitch quality. We'll cover everything from frustrating thread breaks to data transfer issues, providing practical steps you can take right at your machine.
Two-minute checks before you open anything
- Is the machine plugged in and powered on?
- Is the needle inserted correctly, facing the right direction, and not bent or dull?
- Is the machine threaded correctly from spool to needle, with thread seated in all guides and tension discs?
- Is the bobbin wound correctly and inserted properly into the bobbin case?
- Is the fabric hooped tautly with appropriate stabilizer?
- Are there any visible thread jams or obstructions in the needle area or rotary hook?
1. Frequent Thread Breaks high likelihood
How to tell
The machine stops mid-stitch, often with an error message indicating a thread break, or you notice the thread has snapped in the needle, take-up lever, or tension discs.
Fix
- Re-thread the entire machine, from the spool to the needle, ensuring the thread is seated correctly in all guides and tension discs.
- Check the needle: Ensure it's the correct type and size for your fabric and thread, inserted correctly, and not bent, blunt, or burred. Replace if necessary.
- Inspect the thread path for any burrs or sharp edges that could be snagging the thread. Use a piece of nylon stocking to gently run along the path.
- Adjust upper thread tension: Too tight or too loose can cause breaks. Refer to your machine's manual for recommended settings and adjust incrementally.
- Check bobbin tension: Ensure the bobbin is wound evenly and inserted correctly. Test bobbin tension by holding the bobbin case by the thread; it should slowly drop a few inches and then stop.
- Clean the rotary hook area: Lint and debris can interfere with thread movement. Remove the bobbin case and clean thoroughly.
- Ensure the thread is good quality and not old or brittle.
Parts involved: Needles & needle bars → Thread path & tension → Rotary hooks & bobbin cases → Threads & supplies →
2. Skipped Stitches or Poor Stitch Quality high likelihood
How to tell
Embroidery appears uneven, loose, or has gaps where stitches should be. You might see loops on the top or bottom of the fabric, or the design looks distorted.
Fix
- Check the needle: A bent, dull, or incorrect needle is a primary cause. Replace the needle with a new, appropriate size and type for your material.
- Verify hooping: Ensure the fabric is hooped tautly and evenly, without wrinkles or slack. Use appropriate backing for your fabric.
- Adjust thread tension: Both upper and bobbin thread tension need to be balanced. Adjust upper tension first, then bobbin if necessary. The bobbin thread should show about 1/3 on the underside of the top stitch.
- Clean the bobbin case and rotary hook area: Lint buildup can disrupt stitch formation.
- Check presser foot height: If adjustable, ensure it's set correctly for your fabric thickness to hold the material securely during stitching.
- Inspect the rotary hook: Damage or burrs on the hook can cause skipped stitches. If damaged, it may need replacement.
Consider Sewtalent Embroidery Hoops for Happy HCH-701, HCS3-1201, HCD3e-1501, HCU2-1501 Machines or Sewtalent Magnetic Embroidery Hoop Frame for Happy Japan HCD2-1501-40, HCD3E-1501-40, HCS2-1201, HCR3-1504, HCU-1501 for better hooping stability.
Parts involved: Needles & needle bars → Thread path & tension → Rotary hooks & bobbin cases → Hoops & frames → Presser feet & sewing parts →
Parts you may need for Happy HCU
In stock, tested before dispatch, Buyer Protection on every order. Part types for this problem: Needles & needle bars, Thread path & tension, Rotary hooks & bobbin cases, Threads & supplies.
 Sewtalent Embroidery Hoops for Happy HCH-701, HCS3-1201, HCD3e-1501...$ 39.09View part →
 Sewtalent Magnetic Mighty Hoop Master for Happy Japan HCS HCH HCD H...$ 78.49View part →
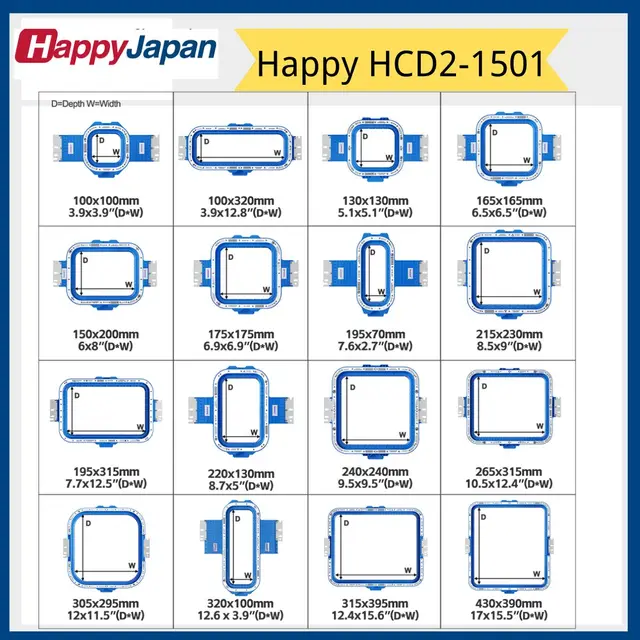 Sewtalent Magnetic Embroidery Hoop Frame for Happy Japan HCD2-1501-...$ 76.99View part →
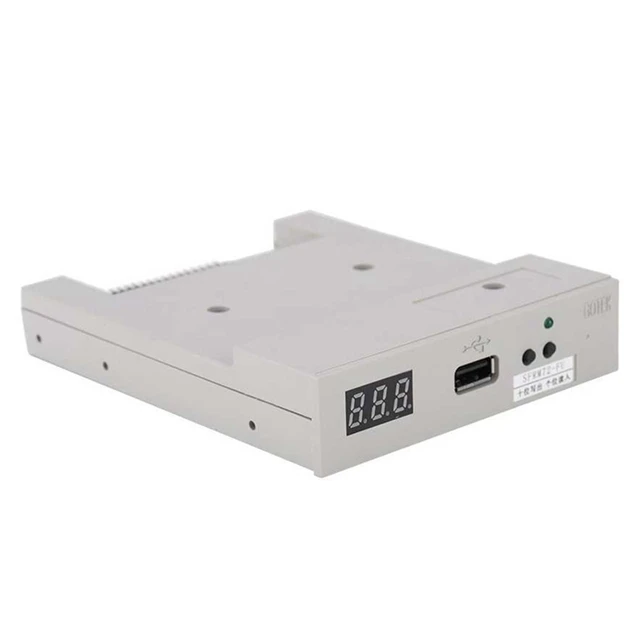 SFRM72-FU USB Floppy Emulator for Tajima, Barudan, Happy, ZSK, Brot...$ 65.09View part →
 Gotek SFRM72-FU Floppy Drive Emulator USB Reader for Tajima, Baruda...$ 59.29View part →
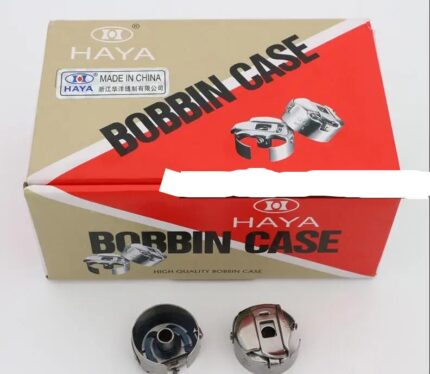 HAYA MGP BC-DBZ(1)-NBL KF220440 ME0503000NBL Bobbin Case (50 Pcs) f...$ 66.29View part →
All Happy HCU parts → Needles & Needle Bars → Thread Path & Tension → Rotary Hooks & Bobbin Cases →
3. Machine Not Reading Design Files (USB/Floppy) medium likelihood
How to tell
The machine displays an error message related to file reading, cannot find the design, or fails to load the design from the USB drive or floppy disk.
Fix
- Ensure the design file is in the correct format (.DST is common for Happy machines) and is not corrupted.
- Try a different USB drive or floppy disk. Sometimes, compatibility issues arise with certain brands or older/damaged media.
- Check the USB port or floppy drive for any physical damage or debris.
- If using a floppy drive, consider upgrading to a USB floppy emulator for improved reliability and convenience. Back up any critical data before replacement.
- Reformat the USB drive to FAT32 on a computer, then re-transfer the design file.
- Restart the machine to clear any temporary software glitches.
The SFRM72-FU USB Floppy Emulator for Tajima, Barudan, Happy, ZSK, Brother, Melco, Feiya, Ricoma Embroidery is a common upgrade for older floppy drives.
Parts involved: Floppy, USB & memory → Circuit boards & electronics →
4. Needle Bar Not Moving or Sticking low likelihood
How to tell
A specific needle bar fails to move up and down, moves sluggishly, or gets stuck during operation. This often results in incomplete designs or machine stoppage.
Fix
- Check for thread jams: A tangled thread around the needle bar mechanism can restrict movement. Carefully remove any thread debris.
- Lubricate the needle bar: Apply a small drop of appropriate machine oil to the top and bottom bushings of the affected needle bar. Consult your manual for lubrication points and frequency.
- Inspect the needle bar drive mechanism: Look for any loose screws, bent components, or obstructions. (This may require partial disassembly and is best done by an experienced technician if unsure).
- Check for a bent needle bar: If the needle bar itself is bent, it will bind and need replacement.
- Verify the needle bar selection solenoid: If the machine uses solenoids for needle selection, a faulty solenoid could prevent proper engagement. (Requires technical diagnosis).
Parts involved: Needles & needle bars → Lubrication & maintenance → Head & mechanical parts → Solenoids & magnets →
5. Machine Not Powering On or Intermittent Power low likelihood
How to tell
The machine does not turn on when the power switch is flipped, or it powers on and then unexpectedly shuts down.
Fix
- Check the power cable: Ensure it's securely plugged into both the machine and a working wall outlet. Try a different outlet.
- Inspect the power switch: Look for any visible damage or looseness.
- Check the circuit breaker/fuse: If the machine has an external fuse, check if it's blown. Replace with the correct amperage fuse if necessary.
- Verify the power supply unit (PSU): If accessible, check for any indicator lights on the PSU. (Internal PSU issues usually require a technician).
- Inspect internal wiring: Look for any loose or damaged wires, especially around the power input and main board. (Only if comfortable and machine is unplugged).
- If the issue persists, it likely indicates a fault with the power supply, main board, or internal wiring, requiring professional diagnosis.
Parts involved: Cables & wiring → Circuit boards & electronics →
Maintenance schedule
| When | What to do | Why |
|---|---|---|
| Daily/Every 4-8 hours of operation | Clean the rotary hook area and bobbin case. | Removes lint and thread debris that can cause thread breaks and poor stitch quality. |
| Weekly/Every 40 hours of operation | Thoroughly clean the entire thread path, tension discs, and needle bar area. Lubricate according to your manual. | Ensures smooth thread flow and reduces friction on moving parts, extending machine life. |
| Monthly/Every 160 hours of operation | Inspect belts for wear, check for loose screws, and clean under the needle plate. | Prevents unexpected breakdowns and maintains machine precision. |
| Annually/Every 2000 hours of operation | Professional servicing and calibration. | Ensures optimal performance, addresses wear and tear, and prevents major issues. |
Stop and call a technician if
- If the machine displays complex error codes that are not covered in the manual's basic troubleshooting.
- If you suspect a problem with internal electronics, motors, or circuit boards.
- If mechanical parts appear bent, broken, or misaligned and you are not comfortable with complex repairs.
- If the machine is making grinding noises or has significant vibration that cannot be resolved with basic maintenance.
- If after following all troubleshooting steps, the problem persists.
Prevent it coming back
- Always use high-quality needles appropriate for your fabric and thread type, and replace them regularly (e.g., every 8-10 hours of sewing or at the first sign of dullness).
- Keep your machine meticulously clean, especially the rotary hook area, tension discs, and thread path, to prevent lint buildup and snags.
- Ensure proper thread tension for both upper and bobbin threads; unbalanced tension is a leading cause of stitch quality issues.
- Hoop your fabric and stabilizer correctly – taut, even, and without wrinkles – to prevent puckering and skipped stitches.
- Perform regular lubrication as recommended in your Happy HCU manual to keep moving parts operating smoothly.
- Use good quality embroidery thread and bobbins, as poor quality can lead to frequent breaks and poor stitch formation.
- Regularly check for and tighten any loose screws on the needle plate, presser foot, or other accessible components.
Frequently asked questions
What is the best way to prevent thread breaks on my Happy HCU?
Regularly inspect your thread path for burrs, use high-quality thread, replace needles frequently, and ensure proper tension balance. Keep your machine clean, especially the rotary hook area.
My Happy HCU machine is making strange noises. What should I do?
First, stop the machine immediately. Check for any loose parts, thread jams, or obstructions. Ensure all moving parts are properly lubricated according to your machine's maintenance schedule. If the noise persists, it's best to consult your manual or a technician.
How often should I clean my Happy HCU embroidery machine?
It's recommended to clean the rotary hook area daily or after every 4-8 hours of operation, depending on thread type and usage. A more thorough cleaning and lubrication should be performed weekly or bi-weekly. Always refer to your Happy HCU operator's manual for specific recommendations.
Can I use any USB drive with my Happy HCU machine?
While many USB drives work, some older Happy HCU models can be particular. It's best to use smaller capacity (e.g., 2GB or 4GB) USB 2.0 drives formatted to FAT32. If you're having issues, consider a USB floppy emulator for better compatibility and reliability.
From the Happy HCS3 parts book
The assemblies involved in this problem, as the manufacturer lists them. Open a section to see every part number, which ones we stock, and get a price on the rest.
- Cap Frame (drive Frame)54 parts · 0 in stock
- Cap Frame (hold Frame)53 parts · 0 in stock
- Moving Head 151 parts · 0 in stock
- Head51 parts · 0 in stock
- Cap Frame (cap Stretcher)44 parts · 0 in stock
- Electrical Connection Diagram36 parts · 0 in stock
Reference book: Happy HCS3. Part numbers differ by model - search yours below and we will confirm fit.
Did this guide fix your machine?
Rate it - it helps other operators find the right fix.
Not sure which part is failing?
Need the logo stitched too?
Get your logo digitized by the people who know this machine
Upload the artwork, see the stitch count and the exact price in 10 seconds, then order with a free sew-out preview. $1 per 1,000 stitches, $10 minimum, 24-hour delivery. Vector conversion from $12.
After the fix
Fixed it? Keep the rest of the shop moving.
OS 360 is the shop software from the team behind this parts store. Every job keeps its status, deadline and owner while a HCU head is down, restock alerts fire for needles, hooks and bobbins before you run dry, and quotes, invoices and payment live in one place.
- Jobs with status, deadline and owner - nothing slips during downtime
- Inventory with restock alerts, this store one click away
- Instant quotes, invoices and one place to collect payment