
Blog
Durkopp Adler 269 Series: Common Problems & Fixes

Quick answer: Most Durkopp Adler 269 issues stem from incorrect threading, dull needles, or tension adjustments. Check these first for quick resolution.
The Durkopp Adler 269 series is a workhorse in industrial sewing, known for its robust performance. However, even the most reliable machines can encounter issues. This guide will help you diagnose and resolve the most common problems operators face, getting your machine back to optimal performance quickly. We focus on practical, on-the-spot fixes you can perform yourself, along with identifying when a part replacement might be necessary.
Two-minute checks before you open anything
- Is the machine properly threaded from spool to needle?
- Is the needle inserted correctly and not bent or dull?
- Is the bobbin wound correctly and inserted properly?
- Are all tension discs clean and free of lint?
- Is the presser foot engaged and appropriate for the material?
- Is the machine clean and lubricated according to the manufacturer's manual?
1. Skipped Stitches high likelihood
How to tell
The machine sews, but stitches are missing at regular or irregular intervals, leaving gaps in the seam.
Fix
- Replace the needle with a new, correct size and type for your material. Ensure it's inserted all the way up and facing the correct direction.
- Re-thread the entire machine, ensuring the thread passes through all guides and tension discs correctly.
- Check the bobbin and bobbin case for proper insertion and thread tension. Rewind the bobbin if it's uneven.
- Clean out any lint or debris from the rotary hook area and under the needle plate.
- Adjust the upper thread tension slightly. If the tension is too loose or too tight, it can affect loop formation.
Consider replacing your needles regularly. A worn rotary hook or bobbin case can also contribute to skipped stitches.
Parts involved: Needles & needle bars → Rotary hooks & bobbin cases → Thread path & tension → Screws, springs & small parts →
2. Thread Breakage high likelihood
How to tell
The upper or bobbin thread repeatedly snaps during sewing, often with a loud pop.
Fix
- Replace the needle. A bent, burred, or dull needle is a common cause of thread breakage.
- Check the thread path for any sharp edges, burrs, or obstructions in thread guides, tension discs, or the needle eye.
- Reduce upper thread tension slightly. Excessive tension can weaken the thread.
- Ensure the thread is appropriate for the needle size and material. Too thick a thread for the needle eye can cause friction and breakage.
- Clean the bobbin case and rotary hook area thoroughly. Lint buildup can snag the thread.
- Inspect the thread itself for knots, weak spots, or poor quality. Try a different spool of thread.
Regular needle replacement is key. Check your thread guides and tension discs for wear.
Parts involved: Needles & needle bars → Thread path & tension → Rotary hooks & bobbin cases → Threads & supplies →
Parts you may need for your machine
In stock, tested before dispatch, Buyer Protection on every order. Part types for this problem: Needles & needle bars, Rotary hooks & bobbin cases, Thread path & tension, Screws, springs & small parts.
 TC-805 Stainless Steel Yarn Shears – Precision Thread Clippers for ...$ 3.59View part →
 Bobbin Case & 2 Metal Bobbins for Brother, Janome, Singer, Babylock...$ 5.59View part →
 Adjustable Retro Sewing Thimble Finger Protection for Embroidery & ...$ 4.99View part →
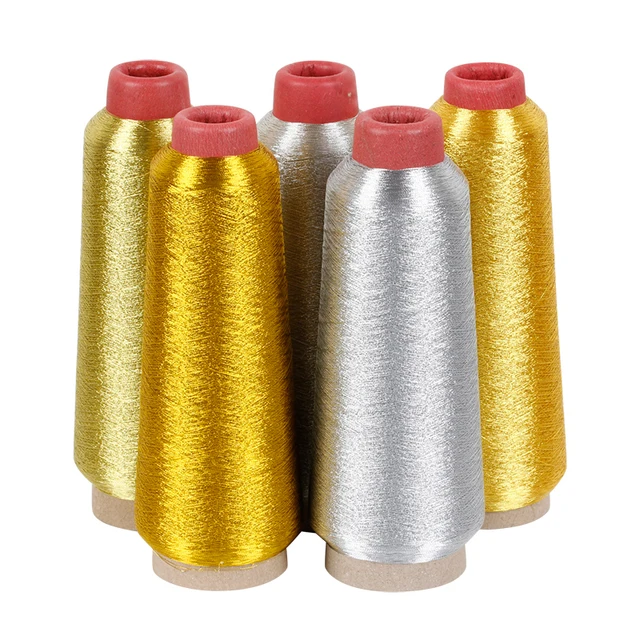 3200M Metallic Silk Thread Computer Cross-stitch Thread for Machine...$ 0.00View part →
 CHCH Essential Embroidery Machine Spare Part - Restore Performance$ 0.00View part →
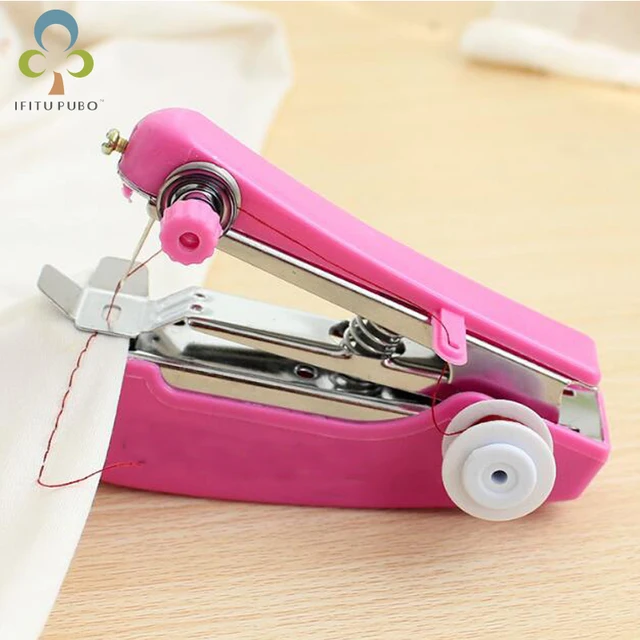 Portable Mini Manual Sewing Machine - Handy Needlework Tool for Sim...$ 10.49View part →
All your machine parts → Needles & Needle Bars → Rotary Hooks & Bobbin Cases → Thread Path & Tension →
3. Poor Stitch Quality (Loose or Uneven Stitches) medium likelihood
How to tell
Stitches appear loose, loopy on the top or bottom, or inconsistent in length and formation.
Fix
- Adjust the upper thread tension. If loops are on the bottom, increase upper tension. If loops are on the top, decrease upper tension.
- Check bobbin tension. It should pull smoothly with slight resistance. Adjust the small screw on the bobbin case if needed.
- Ensure the machine is threaded correctly, with the thread seated properly in all tension discs.
- Clean the tension discs. Lint or debris can prevent them from gripping the thread evenly.
- Verify the presser foot pressure is appropriate for the material. Too little pressure can cause fabric to slip, leading to uneven stitches.
- Check the feed dog height and movement. If they are not moving correctly, stitches can be inconsistent. Refer to your machine manual for adjustment.
Worn tension springs or discs may need replacement. Ensure your presser feet, such as the Binding Sewing Feet Set for Durkopp Adler 69, 267, 269, are in good condition.
Parts involved: Thread path & tension → Rotary hooks & bobbin cases → Presser feet & sewing parts → Head & mechanical parts → Lubrication & maintenance →
4. Machine Jamming or Seizing medium likelihood
How to tell
The machine suddenly stops, often with a loud thud or grinding noise, and the handwheel is difficult or impossible to turn.
Fix
- Immediately turn off the machine. Do not force the handwheel.
- Remove the needle plate and bobbin case. Carefully remove any tangled thread from the rotary hook area.
- Check for a bent or broken needle that might be lodged in the hook or needle plate.
- Inspect the feed dogs for any obstructions or damage.
- If the jam persists after clearing thread, it may indicate a mechanical issue with the rotary hook or internal gears. Do not attempt to force it.
A damaged rotary hook or bobbin case is a common culprit. If gears are involved, professional service may be required.
Parts involved: Rotary hooks & bobbin cases → Needles & needle bars → Head & mechanical parts → Belts, pulleys & gears →
5. Noise or Vibration low likelihood
How to tell
The machine produces unusual sounds like grinding, knocking, or excessive vibration during operation.
Fix
- Turn off the machine and inspect for loose screws, especially around the needle plate, presser foot, and head assembly.
- Clean and lubricate the machine according to the manufacturer's manual. Lack of lubrication is a common cause of increased noise.
- Check the bobbin case and rotary hook area for lint, debris, or damage. A worn or damaged bobbin case can rattle.
- Ensure the machine is on a stable, level surface. Loose mounting can cause vibration.
- Inspect belts and pulleys for wear or damage. A worn belt can slip or cause noise.
Regular lubrication is crucial. Check the condition of your rotary hook and bobbin case. Loose screws or worn belts, pulleys, and gears can contribute to noise.
Parts involved: Lubrication & maintenance → Rotary hooks & bobbin cases → Screws, springs & small parts → Belts, pulleys & gears → Head & mechanical parts →
Maintenance schedule
| When | What to do | Why |
|---|---|---|
| Daily / Every 8 hours of operation | Clean lint from the bobbin case, rotary hook, and feed dog area. | Prevents thread jams, skipped stitches, and maintains stitch quality. |
| Daily / Every 8 hours of operation | Lubricate all designated oiling points. | Reduces friction and wear on moving parts, preventing premature failure and noise. |
| Weekly / Every 40 hours of operation | Replace the needle. | A sharp, undamaged needle is crucial for preventing skipped stitches and thread breaks. |
| Monthly / Every 160 hours of operation | Thoroughly clean under the needle plate and around the feed dogs. | Removes stubborn lint and debris that can affect fabric feeding and stitch formation. |
| Annually / Every 2000 hours of operation | Professional service and tune-up. | Ensures all components are in optimal condition, timing is correct, and worn parts are identified and replaced. |
Stop and call a technician if
- If the machine is making grinding noises and the handwheel is completely seized after clearing all visible obstructions.
- If you suspect internal timing issues or gear damage.
- If electrical components are malfunctioning or showing signs of damage.
- If you've followed all troubleshooting steps and the problem persists, indicating a deeper mechanical or electronic issue.
- For any repairs that require specialized tools, extensive disassembly, or adjustments not covered in your machine's manual.
Prevent it coming back
- Always use high-quality needles and replace them regularly (e.g., after 8-10 hours of heavy use or at the first sign of dullness).
- Use thread appropriate for your material and needle size.
- Keep your machine clean. Remove lint and dust daily from the needle plate, feed dogs, and bobbin area.
- Lubricate your machine according to the manufacturer's manual. This is crucial for preventing wear and tear.
- Perform regular checks of all screws and fasteners to ensure they are tight.
- Ensure proper machine setup, including correct threading and tension settings, before starting any new project.
Frequently asked questions
Why does my Durkopp Adler 269 keep breaking needles?
Needle breakage is often due to a bent or dull needle, incorrect needle size for the material, improper needle insertion, incorrect timing, or the needle hitting the needle plate or rotary hook. Always use the correct needle type and size, ensure it's inserted fully and correctly, and check for any obstructions.
How often should I oil my Durkopp Adler 269?
Industrial machines like the Durkopp Adler 269 require regular lubrication. A general guideline is to oil daily or after every 8 hours of operation, especially if used heavily. Always refer to your machine's specific manufacturer manual for exact lubrication points and frequency.
Can I use any presser foot on my 269 series machine?
No, you must use presser feet designed for the Durkopp Adler 269 series or compatible models. Using incorrect feet can lead to poor stitch quality, damage to the machine, or even needle breakage. We stock specific feet like the Binding Sewing Feet Set for Durkopp Adler 69, 267, 269 and various Zipper Foot Sets for 67, 167, 267, 69, 269 models.
My machine's stitches are inconsistent. What's the first thing to check?
Start by checking your threading, both upper and bobbin. Ensure the thread is seated correctly in all tension discs and guides. Then, check your needle for damage and ensure it's inserted correctly. Finally, adjust your upper and bobbin tensions incrementally.
Did this guide fix your machine?
Rate it - it helps other operators find the right fix.
Not sure which part is failing?
Need the logo stitched too?
Get your logo digitized by the people who know this machine
Upload the artwork, see the stitch count and the exact price in 10 seconds, then order with a free sew-out preview. $1 per 1,000 stitches, $10 minimum, 24-hour delivery. Vector conversion from $12.
After the fix
Fixed it? Keep the rest of the shop moving.
OS 360 is the shop software from the team behind this parts store. Every job keeps its status, deadline and owner while a embroidery head is down, restock alerts fire for needles, hooks and bobbins before you run dry, and quotes, invoices and payment live in one place.
- Jobs with status, deadline and owner - nothing slips during downtime
- Inventory with restock alerts, this store one click away
- Instant quotes, invoices and one place to collect payment