
What is this case study? This page documents a real completed Digitizing order produced by 360 Digitizing Solutions for a Cap Front placement on Other. To protect client privacy, company and brand names have been anonymized. Browse specs, before/after images, and production notes below.
Crafting Clean 3D Puff Caps for Local Apparel Decorators
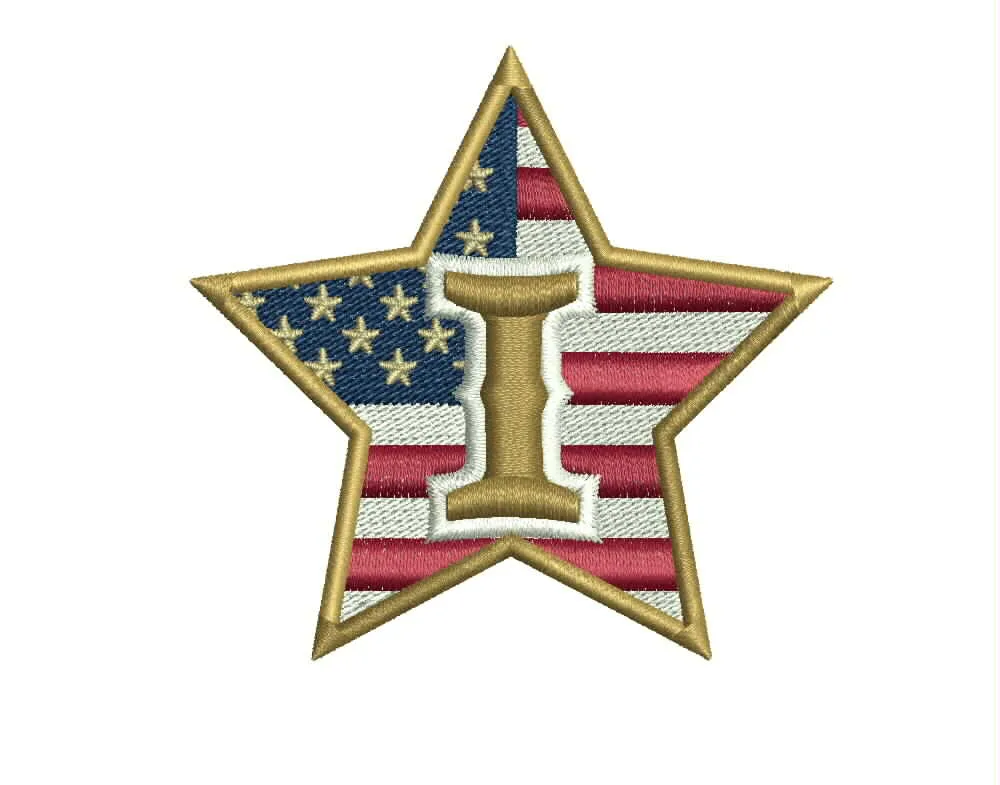
See how our expert digitizers turned a complex 2.5×2.5 inch artwork into a crisp, high-definition 3D puff cap design with zero thread breaks.
Customer Original Artwork

Final Digitized Proof
Order Specifications
Project Background
The primary challenge for this order involved managing tight corners and sharp angles while applying 3D foam. If the stitch density or angle is incorrect, the foam can peek through the satin stitches or fail to perforate cleanly, making it difficult to remove the excess material after sewing. Our client needed a reliable file that could run at high speeds on commercial embroidery machines without causing thread shredding, birdnesting, or needle breakage.
To overcome these challenges, our experienced digitizers carefully analyzed the artwork vectors. We adjusted the stitch paths to provide solid coverage over the foam while keeping the pull compensation tight. This attention to detail ensured that the boundaries of the design remained crisp and well-defined, giving the local apparel decorator the exact look they promised their end customer.
Working on a compact 2.5×2.5 inch layout also meant we had to carefully manage stitch counts. With a total count of 10502 stitches, every single movement was optimized to prevent unnecessary bulk on the cap front panel. By planning the entry and exit points logically, we minimized jump stitches and reduced overall machine run time, directly improving shop efficiency for our client.
Technical Production Process
Next, we applied custom underlay stitching tailored specifically for foam coverage. A combination of edge run and center-walk underlays laid down a secure foundation, tacking the foam securely to the cap surface. The satin columns were then programmed with precise stitch density settings to ensure the foam was cleanly cut by the needle penetrations without compromising structural integrity.
Finally, we incorporated specialized tie-offs and lock stitches at strategic stress points. These programmatic adjustments prevent the satin stitches from unraveling after the excess foam is torn away. Every parameter was checked and tested digitally to guarantee seamless execution on the shop floor, resulting in a clean, professional finish.
Our team’s rigorous quality control checks ensure that every file we deliver meets the highest industry standards. By focusing on clean vector conversion and intelligent stitch routing, we help embroiderers minimize downtime and produce retail-ready caps consistently.
- ✓ Optimized 3D puff density and precise foam coverage settings
- ✓ Center-out sewing sequence to prevent cap panel shifting
- ✓ Clean corner integration with zero thread breaks
Final Outcome
By relying on our professional digitizing expertise, the shop was able to fulfill their customer order on time and with zero wasted blanks. The high-quality result reinforced their reputation for delivering premium decorated apparel. We continue to support local decorators with reliable, production-ready files tailored for efficiency and visual impact.
Ready to upgrade your cap embroidery workflow? Experience the difference that precision digitizing makes for your business today. Place your next order with us and enjoy fast turnaround times and flawless machine files.
Ready for Flawless Production?
We deliver production-ready files optimized for your exact machines and fabrics, reducing thread breaks and maximizing shop efficiency.
Frequently Asked Questions
What is the standard turnaround time for cap front digitizing? +
Most digitizing orders are processed and delivered within 12 to 24 hours, ensuring your production schedule stays on track.
How do you handle 3D puff embroidery on structured caps? +
We use specialized foam density, precise pull compensation, and tailored underlay stitching to ensure clean corners and completely covered foam edges.
Disclaimer: All logos and designs are the property of their respective copyright/trademark owners. This case study is for the sole purpose of demonstrating 360 Digitizing Solutions’ technique and quality. We do not claim ownership of the original artwork, nor are these designs for sale.
Brand Representative? Request Portfolio Privacy/Removal (Corporate Email Required)