
What is this case study? This page documents a real completed Digitizing order produced by 360 Digitizing Solutions for a Cap Side placement on Cotton. To protect client privacy, company and brand names have been anonymized. Browse specs, before/after images, and production notes below.
Precision Cap Side Digitizing for Cotton Headwear
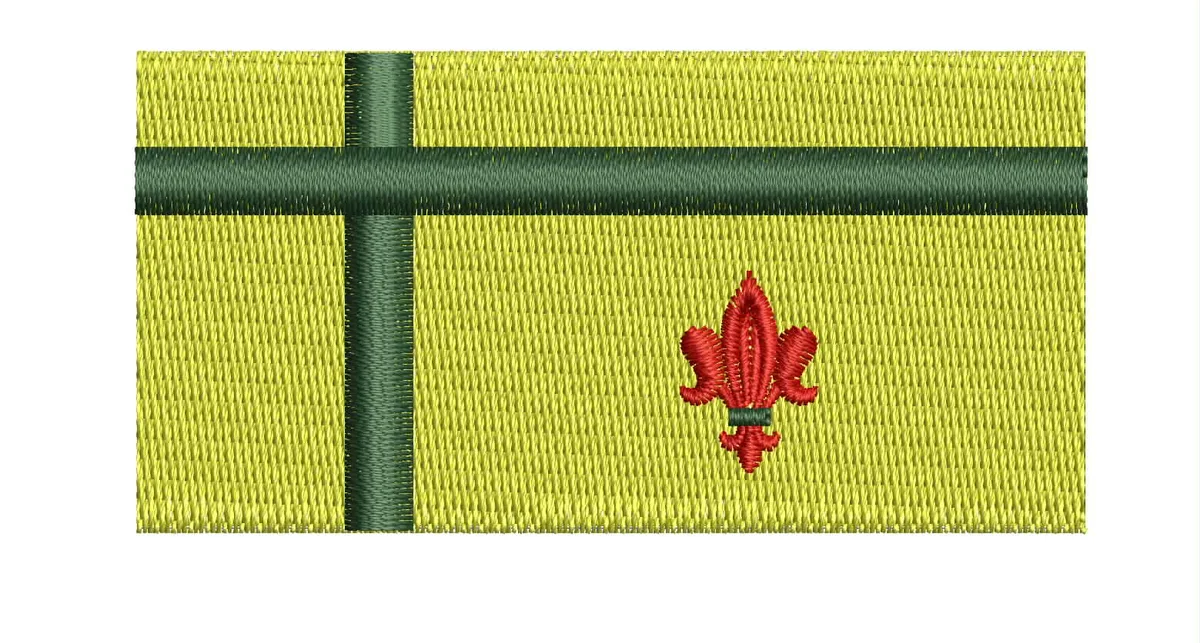
Standardizing custom graphics on cap side panels requires extreme technical balance to prevent puckering and registration errors. For this project, a local apparel decorator needed crisp, readable detail within a strict 2.5×2 inch frame. By engineering targeted underlays and compensating for curved cap seams, our team produced a clean 4,852-stitch file built for smooth high-speed runs.
Customer Original Artwork

Final Digitized Proof
Order Specifications
Project Background
Cotton twill cap fabric is sturdy, but side panels often feature internal structural buckram or seams that push needle paths off alignment. If the stitch angles aren’t calculated carefully, fine text and solid fills can shift, resulting in visible gaps or misaligned borders. The decorator required a design that would run smoothly on their multi-head equipment without causing thread breaks or needle deflections.
Another major factor was stitch density management within a compact sew area. A design containing 4,852 stitches in a 2.5×2 inch frame can easily become overly dense, leading to bullet-hard patches that pucker the cap fabric. Balancing structural coverage while maintaining flexibility was critical for wearer comfort and long-term durability.
Furthermore, cap side placements leave very little room for error due to the proximity of cap crowns and lower sweatbands. Machine presser feet need adequate clearance, and the digitizing must minimize excessive jumps across open areas. Our client wanted a hassle-free file ready for immediate production without needing trial-and-error edits at the machine.
By analyzing the physical traits of cotton caps and the specific dimensions of the artwork, we constructed a plan focused on stable sequencing and intelligent stitch direction. Our goal was to deliver clean edges, distinct lettering, and a fast production run that protected the client’s shop margins.
Technical Production Process
We applied a light grid underlay structure combined with edge-walk stitching across all solid areas. This stabilized the cotton fibers without adding unnecessary bulk. For the satin stitch elements, pull compensation was increased slightly above flat garment standards to accommodate the natural tension of the cap frame.
Fine detail areas were digitized using precise fill settings and optimized stitch lengths. Short stitches were carefully filtered out to avoid bunching and thread friction. By capping the total stitch count at exactly 4,852, we maintained rich visual depth while ensuring fast running speeds on production machinery.
Thread trims were kept to a practical minimum to reduce cycle times per head. Smooth jump sequences were mapped between elements, allowing the machine to transition without unnecessary stops. This technical preparation gave the embroidery machine a clear, efficient path through every section of the logo.
- ✓ Center-out stitch sequencing to eliminate fabric shifting on curved side panels
- ✓ Custom pull compensation calibrated specifically for structured cotton cap twill
- ✓ Optimized 4,852 stitch profile preventing heavy needle strikes and thread breaks
Final Outcome
The client experienced rapid machine setup with zero thread breaks during their production run. The balanced density allowed for clean high-speed embroidery, reducing downtime and keeping the order ahead of schedule. The crisp contrast and crisp lines created a polished, professional cap embellishment that exceeded end-customer expectations.
By trusting specialized cap digitizing expertise, the decorator maintained high throughput and reliable quality control. This project stands as an example of how technical digitizing practices turn complex placement challenges into smooth, profitable embroidery runs.
Ready for Flawless Production?
We deliver production-ready files optimized for your exact machines and fabrics, reducing thread breaks and maximizing shop efficiency.
Frequently Asked Questions
Why is cap side digitizing different from flat garment digitizing? +
Cap sides feature curved surfaces and tight framing tension. Digitizing for cap sides requires specialized center-out pathing and increased pull compensation to prevent puckering and registration alignment errors.
What stitch density works best for small cap side logos? +
A balanced stitch density that provides full coverage without creating a stiff patch is crucial. For a 2.5×2 inch design, keeping stitches around 4,500 to 5,000 prevents needle deflections and fabric distortion.
How do you avoid thread breaks when stitching on structured cap fabrics? +
Thread breaks are reduced by using appropriate underlays to stabilize cotton twill, capping stitch lengths to avoid short bunching stitches, and sequencing design pathing to work with the cap frame geometry.
Disclaimer: All logos and designs are the property of their respective copyright/trademark owners. This case study is for the sole purpose of demonstrating 360 Digitizing Solutions’ technique and quality. We do not claim ownership of the original artwork, nor are these designs for sale.
Brand Representative? Request Portfolio Privacy/Removal (Corporate Email Required)