
What is this case study? This page documents a real completed Digitizing order produced by 360 Digitizing Solutions for a Cap Front placement on Cap. To protect client privacy, company and brand names have been anonymized. Browse specs, before/after images, and production notes below.
High-Definition Cap Front Digitizing Project
This project involved complex digitizing for a custom cap front graphic. By focusing on stitch precision and fabric interaction, we ensured a clean, professional finish for our client.
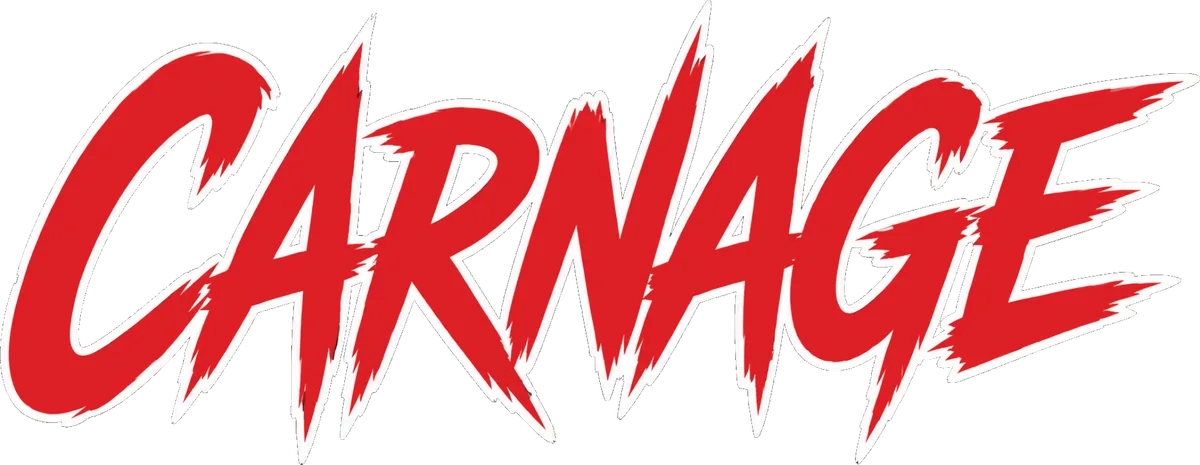
Customer Original Artwork
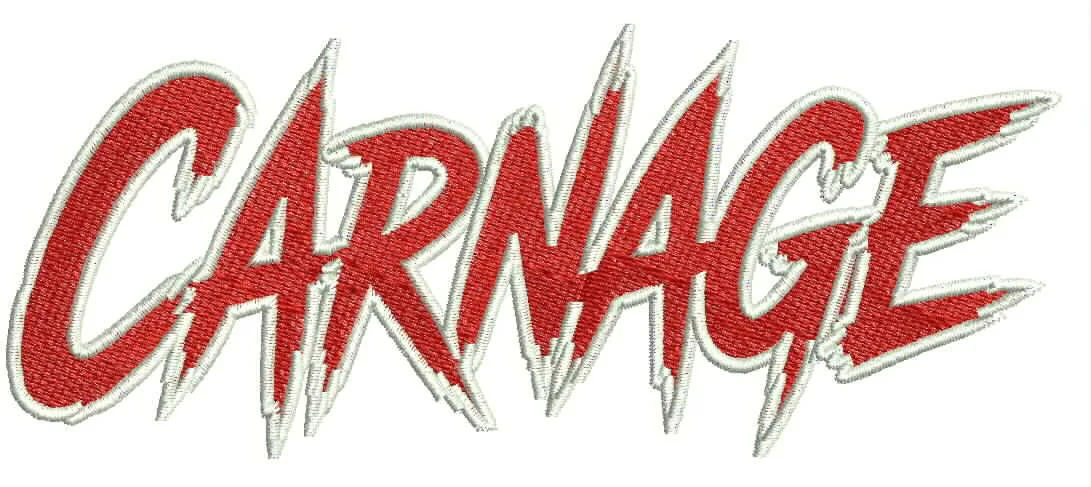
Final Digitized Proof
Order Specifications
Project Background
The primary challenge lay in the fabric constraints of the cap material. Unlike flat garments, caps present a unique tension environment for the embroidery needle. If the density is too high or the pull compensation is incorrectly calculated, the fabric can easily bunch up, ruining the clean look of the final product. Our goal was to maintain the integrity of the original design while ensuring it would sit perfectly flat against the front panels of the cap without causing puckering.
Our team analyzed the artwork to identify areas where the stitch density needed to be adjusted. We had to ensure that the small details remained legible without creating an overly dense area that would stress the fabric or break the threads. The client needed this design to be production-ready, meaning it had to run effectively on high-speed industrial machines without requiring constant adjustments or manual intervention from the operator.
By carefully planning the sequence of the stitch path, we minimized the number of jump stitches and unnecessary thread trims. This is vital for cap embroidery, where every trim adds time to the production process and increases the risk of thread breakage. The final design was engineered to provide a smooth, consistent output that looks great from every angle while remaining durable enough for everyday wear.
We collaborated closely with the client to understand their specific machine capabilities, allowing us to tailor the file output to their hardware. This level of customization is what sets apart professional embroidery digitizing services from automated solutions. We ensured that the final file was perfectly balanced for the 5.25×2.04 inch dimensions requested.
Technical Production Process
Next, we adjusted the pull compensation settings across the entire graphic. Because the cap material has a certain amount of give, we compensated by slightly expanding the design elements to account for the tightening that occurs when the fabric is hooped. We also carefully selected the stitch density for the fill areas to ensure full coverage without creating a heavy, rigid feel that could affect the cap’s natural shape.
Stitch direction was another critical factor. By varying the angles of the stitches throughout the design, we avoided the look of a flat, monotonous patch. This strategic use of angles also helps in managing the tension, effectively guiding the thread so that it stays in place throughout the high-speed stitching process. We also implemented strategic tie-offs to ensure that every segment was securely finished, preventing unraveling.
Final adjustments were made to the sequence of the colors and elements. We grouped similar colors together to reduce the need for unnecessary frame movements, which in turn saves the decorator time and reduces the risk of alignment errors. The final file was verified for stitch count and overall geometry to ensure it met our internal quality standards before being sent to the client.
- ✓ Optimized pull compensation for cap fabric stability.
- ✓ Strategic underlay application to prevent shifting.
- ✓ Efficient pathing to minimize thread trims and machine downtime.
Final Outcome
The client was able to run the design immediately upon receiving the file, with no further adjustments required. This project demonstrates the value of careful planning and technical expertise in the digitizing phase. By delivering a file that is ready for immediate production, we helped our client save time and maintain the high quality their own customers expect. We are proud to have supported this apparel decorator in achieving such a clean result on a challenging project.
Ready for Flawless Production?
We deliver production-ready files optimized for your exact machines and fabrics, reducing thread breaks and maximizing shop efficiency.
Frequently Asked Questions
What is the importance of fabric selection in cap digitizing? +
Fabric structure determines how the needle penetrates the surface. Caps require specific density and pull compensation to prevent puckering and ensure the design sits perfectly on the curved surface.
How do you ensure files are production-ready? +
We optimize every design for machine efficiency, focusing on minimal color changes, efficient trim points, and correct underlay settings to reduce thread breaks.
Disclaimer: All logos and designs are the property of their respective copyright/trademark owners. This case study is for the sole purpose of demonstrating 360 Digitizing Solutions’ technique and quality. We do not claim ownership of the original artwork, nor are these designs for sale.
Brand Representative? Request Portfolio Privacy/Removal (Corporate Email Required)