
Blog
Durkopp Adler 868 Series: Common Problems & Fixes

Quick answer: Most Durkopp Adler 868 issues like skipped stitches, thread breaks, or bobbin problems stem from incorrect threading, worn needles, improper tension, or dirty/damaged bobbin areas. Start by re-threading, changing the needle, and cleaning the machine.
The Durkopp Adler 868 series is a robust and reliable industrial sewing machine, known for its powerful feeding and consistent stitch quality on heavy materials. However, like all complex machinery, operators may encounter common issues that can interrupt production. This guide provides practical, step-by-step troubleshooting for the most frequently reported problems, helping you diagnose and fix them quickly to minimize downtime. We focus on issues you can often resolve yourself, using the right parts and a bit of know-how.
Two-minute checks before you open anything
- Is the machine properly threaded (upper and bobbin)?
- Is the needle new, correctly inserted, and the right type/size?
- Are the tension settings appropriate for your thread and fabric?
- Is the bobbin wound evenly and inserted correctly?
- Is the machine clean and adequately lubricated?
- Are all covers and plates securely fastened?
1. Skipped Stitches or Poor Stitch Quality high likelihood
How to tell
Stitches appear uneven, loose, or are missing entirely. The seam may look weak or inconsistent. You might hear an irregular sewing sound.
Fix
- Replace the needle: A bent, dull, or incorrect needle is the most common cause. Ensure it's inserted correctly and is the right type and size for your fabric and thread.
- Re-thread the machine: Completely remove all thread and re-thread both the upper thread and bobbin thread, ensuring they pass through all guides and tension discs correctly.
- Check upper thread tension: Adjust the upper thread tension dial. Too tight or too loose can cause issues. Refer to your machine's manual for recommended settings.
- Inspect the bobbin area: Remove the bobbin case and bobbin. Clean out any lint or thread scraps. Check the bobbin tension spring for damage or incorrect setting.
- Verify bobbin insertion: Ensure the bobbin is wound evenly and inserted correctly into the bobbin case, with the thread feeding in the right direction.
- Clean and lubricate the hook area: Lint and debris can interfere with hook timing. Clean thoroughly and apply a drop of machine oil as per your manual.
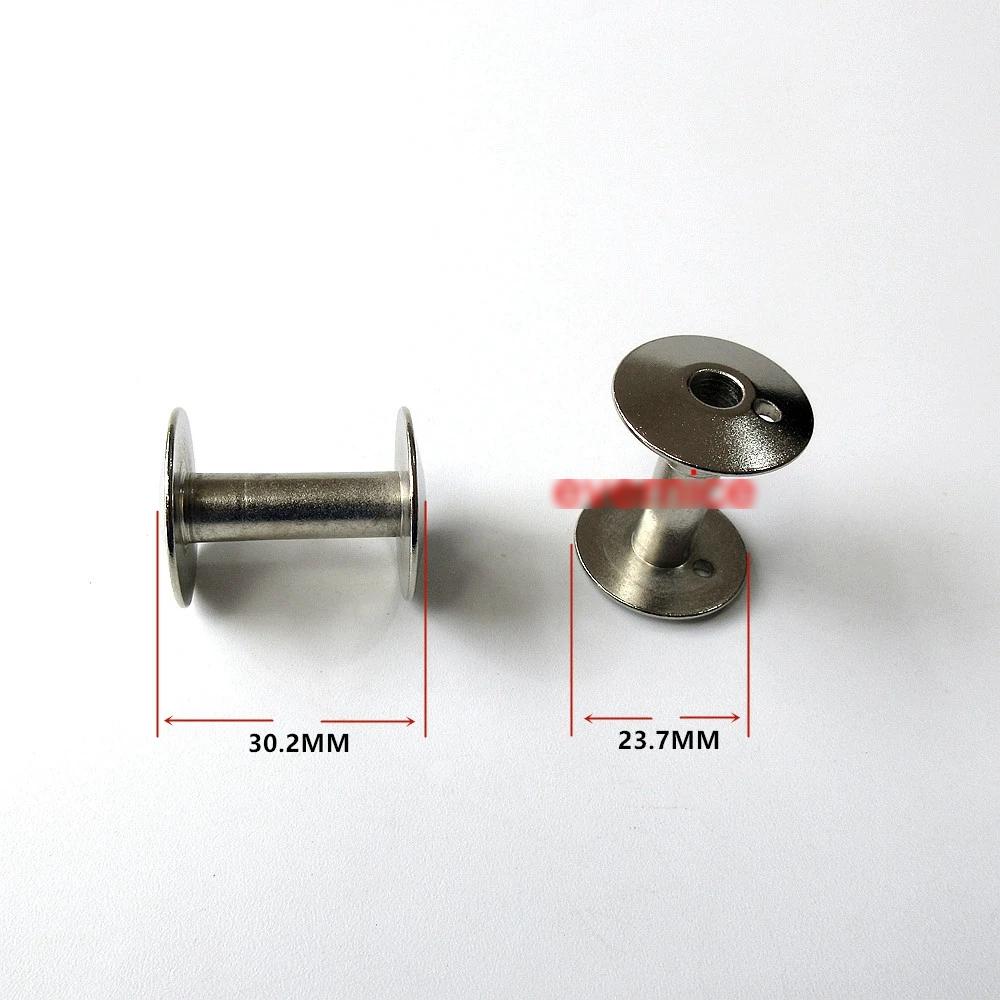
A fresh needle is often the first step. If bobbin tension is the issue, consider replacing the Durkopp Adler 32mm Bobbin Tension Spring 0767-150590. Worn or damaged bobbins can also contribute; check your Durkopp Adler 0667 150803 32mm Aluminum Bobbins or Durkopp Adler 0867-150150 (0867150150) 6-Hole Bobbins.
Parts involved: Needles & needle bars → Thread path & tension → Rotary hooks & bobbin cases → Screws, springs & small parts →
2. Frequent Thread Breakage high likelihood
How to tell
The upper or bobbin thread snaps repeatedly during sewing, often with a sudden 'pop' sound. This leads to frequent stops and re-threading.
Fix
- Inspect the thread path for burrs: Run a piece of pantyhose or a cotton swab along the entire thread path (guides, tension discs, needle eye, hook area) to check for rough spots or burrs that could be fraying the thread.
- Check needle condition and type: A bent, dull, or incorrectly sized needle can cause thread to fray and break. Replace with a new, appropriate needle.
- Adjust thread tension: Both upper and bobbin thread tension can be too tight, causing breakage. Loosen tension slightly and test.
- Verify thread quality and winding: Use good quality thread. Ensure the bobbin is wound evenly and not too full or too loose.
- Clean tension discs: Lint or debris caught in the tension discs can cause inconsistent tension and thread breakage. Floss them with a piece of thread or a thin cloth.
- Inspect the bobbin case and hook: Look for nicks or burrs on the bobbin case or the rotary hook that could be catching the thread.
Ensure your Durkopp Adler 32mm Bobbin Tension Spring 0767-150590 is not damaged or set too high. If the issue persists, inspect the bobbin case and rotary hook for damage.
Parts involved: Thread path & tension → Needles & needle bars → Rotary hooks & bobbin cases → Screws, springs & small parts →
Parts you may need for your machine
In stock, tested before dispatch, Buyer Protection on every order. Part types for this problem: Rotary hooks & bobbin cases, Needles & needle bars, Thread path & tension, Presser feet & sewing parts.
 Bobbin Case & 2 Metal Bobbins for Brother, Janome, Singer, Babylock...$ 5.59View part →
 CHCH Essential Embroidery Machine Spare Part - Restore Performance$ 0.00View part →
 Portable Mini Manual Sewing Machine - Handy Needlework Tool for Sim...$ 10.49View part →
 Adjustable Retro Sewing Thimble Finger Protection for Embroidery & ...$ 4.99View part →
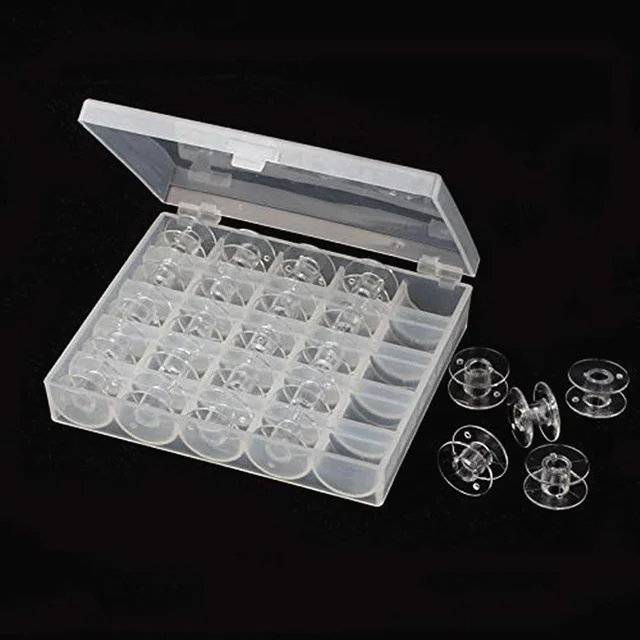 OZXHIXU AA7650 25Pcs Clear Plastic Sewing Machine Bobbins Spools & ...$ 6.49View part →
 Cartridge Tattoo Needles RL RS RM M1 Disposable Sterilized Safety T...$ 15.99View part →
All your machine parts → Rotary Hooks & Bobbin Cases → Needles & Needle Bars → Thread Path & Tension →
3. Bobbin Thread Nesting or Jamming medium likelihood
How to tell
A tangled mess of thread appears on the underside of the fabric (nesting), or the bobbin area completely jams, preventing the machine from sewing.
Fix
- Check upper threading: The most common cause of bobbin nesting is incorrect upper threading, especially missing a thread guide or not seating the thread properly in the tension discs. Re-thread the entire upper path carefully.
- Inspect bobbin winding: Ensure the bobbin is wound smoothly and evenly, not too full, too loose, or with crossed threads. Rewind if necessary.
- Verify bobbin insertion: Make sure the bobbin is inserted into the bobbin case correctly, with the thread coming off in the proper direction (usually clockwise for most rotary hooks).
- Clean the bobbin case and hook area: Remove the bobbin case and bobbin. Thoroughly clean out all lint, dust, and thread scraps from the bobbin case, bobbin holder, and rotary hook area.
- Check bobbin tension: If the bobbin tension is too loose, it can cause nesting. Adjust the small screw on the bobbin case slightly to increase tension. If too tight, it can cause thread breaks.
- Inspect for damaged bobbins or bobbin case: Bent bobbins or a damaged bobbin case can cause thread to catch or jam. Replace if necessary.
Ensure you are using good quality Durkopp Adler 0667 150803 32mm Aluminum Bobbins or Durkopp Adler 0867-150150 (0867150150) 6-Hole Bobbins. A faulty Durkopp Adler 32mm Bobbin Tension Spring 0767-150590 can also contribute to nesting.
Parts involved: Rotary hooks & bobbin cases → Thread path & tension → Screws, springs & small parts →
4. Machine Not Feeding Fabric / Uneven Feeding medium likelihood
How to tell
The fabric does not move forward, or it moves unevenly, resulting in inconsistent stitch length or bunching.
Fix
- Check presser foot pressure: Ensure the presser foot pressure is set correctly for your fabric. Too little pressure can cause the fabric to slip.
- Inspect feed dogs: Make sure the feed dogs are not lowered (e.g., for free-motion sewing). Clean any lint or debris from between the feed dog teeth. Check for worn or damaged feed dogs.
- Adjust stitch length: Ensure the stitch length is not set to zero. Increase the stitch length setting.
- Verify presser foot type: Use the correct presser foot for the material you are sewing. Some materials require specialized feet (e.g., walking foot).
- Check for mechanical obstructions: Ensure no thread or fabric scraps are caught in the feed dog mechanism underneath the needle plate.
Worn feed dogs or a damaged presser foot can hinder fabric feeding. These are typically specific to the 868 series and should be sourced accordingly.
Parts involved: Presser feet & sewing parts → Head & mechanical parts →
5. Unusual Noises or Vibrations low likelihood
How to tell
The machine produces grinding, knocking, squealing, or excessive vibration that is not typical during operation.
Fix
- Locate the source: Try to pinpoint where the noise is coming from (e.g., motor, head, hook area).
- Lubricate moving parts: Follow your machine's lubrication schedule and apply oil to all designated points. A lack of lubrication is a common cause of squealing or grinding.
- Check for loose components: Inspect screws, bolts, and covers. Tighten any that are loose. A loose bobbin case or needle plate can cause rattling.
- Clean thoroughly: Remove all covers and clean out any accumulated lint, thread, or debris that could be interfering with moving parts.
- Inspect belts and pulleys: Check drive belts for wear, cracks, or looseness. Ensure pulleys are clean and securely fastened.
- Check for foreign objects: A stray pin, needle fragment, or piece of metal could be caught in the mechanism.
Regular lubrication is key. If a specific part is found to be loose or worn, such as a bearing or a gear, it will need replacement. These are typically internal mechanical components.
Parts involved: Lubrication & maintenance → Belts, pulleys & gears → Shafts, bearings & bushings → Screws, springs & small parts → Head & mechanical parts →
Maintenance schedule
| When | What to do | Why |
|---|---|---|
| Daily | Clean bobbin case, hook area, and feed dogs. Apply oil to designated points. | Prevents lint buildup, ensures smooth operation, and reduces wear on critical parts. |
| Weekly | Thoroughly clean under the needle plate, tension discs, and all accessible thread guides. Check for loose screws. | Removes hidden debris that can affect stitch quality and prevents minor issues from escalating. |
| Monthly / Every 160 hours | Inspect drive belts for wear, check for excessive play in shafts, and perform a more extensive lubrication as per manual. | Identifies potential mechanical issues early and ensures long-term machine health. |
Stop and call a technician if
- If you've performed all troubleshooting steps and the issue persists.
- If you suspect internal mechanical damage (e.g., broken gears, bent shafts).
- If the machine is making severe grinding or knocking noises that don't resolve with cleaning and lubrication.
- If electrical issues or control panel malfunctions occur.
- If you are uncomfortable performing a specific repair or adjustment.
Prevent it coming back
- Regularly clean the machine, especially the bobbin and hook area, feed dogs, and tension discs, to remove lint and thread scraps.
- Follow the manufacturer's lubrication schedule precisely, using only recommended industrial sewing machine oil.
- Always use high-quality needles appropriate for your fabric and thread, and replace them frequently (e.g., every 8 hours of sewing or after a major project).
- Use good quality thread and bobbins specifically designed for the Durkopp Adler 868 series.
- Ensure proper machine settings (tension, stitch length, presser foot pressure) for each project.
- Perform routine checks for loose screws, worn parts, or unusual noises before starting work.
Frequently asked questions
How often should I clean my Durkopp Adler 868?
For industrial use, the Durkopp Adler 868 should be cleaned daily, especially the bobbin and hook area, and lubricated according to the manufacturer's manual. A thorough weekly or monthly cleaning is also recommended depending on usage intensity.
What type of oil should I use for my Durkopp Adler 868?
Always use high-quality, non-staining industrial sewing machine oil specifically recommended by Durkopp Adler for the 868 series. Refer to your machine's manual for the exact specifications.
Why is my machine making a grinding noise?
Grinding noises often indicate a lack of lubrication, debris caught in moving parts, or worn gears/bearings. Stop the machine immediately, clean and lubricate it, and inspect for any foreign objects or damaged components. If the noise persists, it may require professional attention.
Can I use any bobbin in my Durkopp Adler 868?
No, you must use bobbins specifically designed for the Durkopp Adler 868 series. Using incorrect bobbins can lead to tension issues, nesting, thread breaks, and even damage to the bobbin case or hook. We stock Durkopp Adler 0667 150803 32mm Aluminum Bobbins and Durkopp Adler 0867-150150 (0867150150) 6-Hole Bobbins.
Did this guide fix your machine?
Rate it - it helps other operators find the right fix.
Not sure which part is failing?
Need the logo stitched too?
Get your logo digitized by the people who know this machine
Upload the artwork, see the stitch count and the exact price in 10 seconds, then order with a free sew-out preview. $1 per 1,000 stitches, $10 minimum, 24-hour delivery. Vector conversion from $12.
After the fix
Fixed it? Keep the rest of the shop moving.
OS 360 is the shop software from the team behind this parts store. Every job keeps its status, deadline and owner while a embroidery head is down, restock alerts fire for needles, hooks and bobbins before you run dry, and quotes, invoices and payment live in one place.
- Jobs with status, deadline and owner - nothing slips during downtime
- Inventory with restock alerts, this store one click away
- Instant quotes, invoices and one place to collect payment





