
Blog
Barudan BEKT Series Embroidery Machine Maintenance Guide

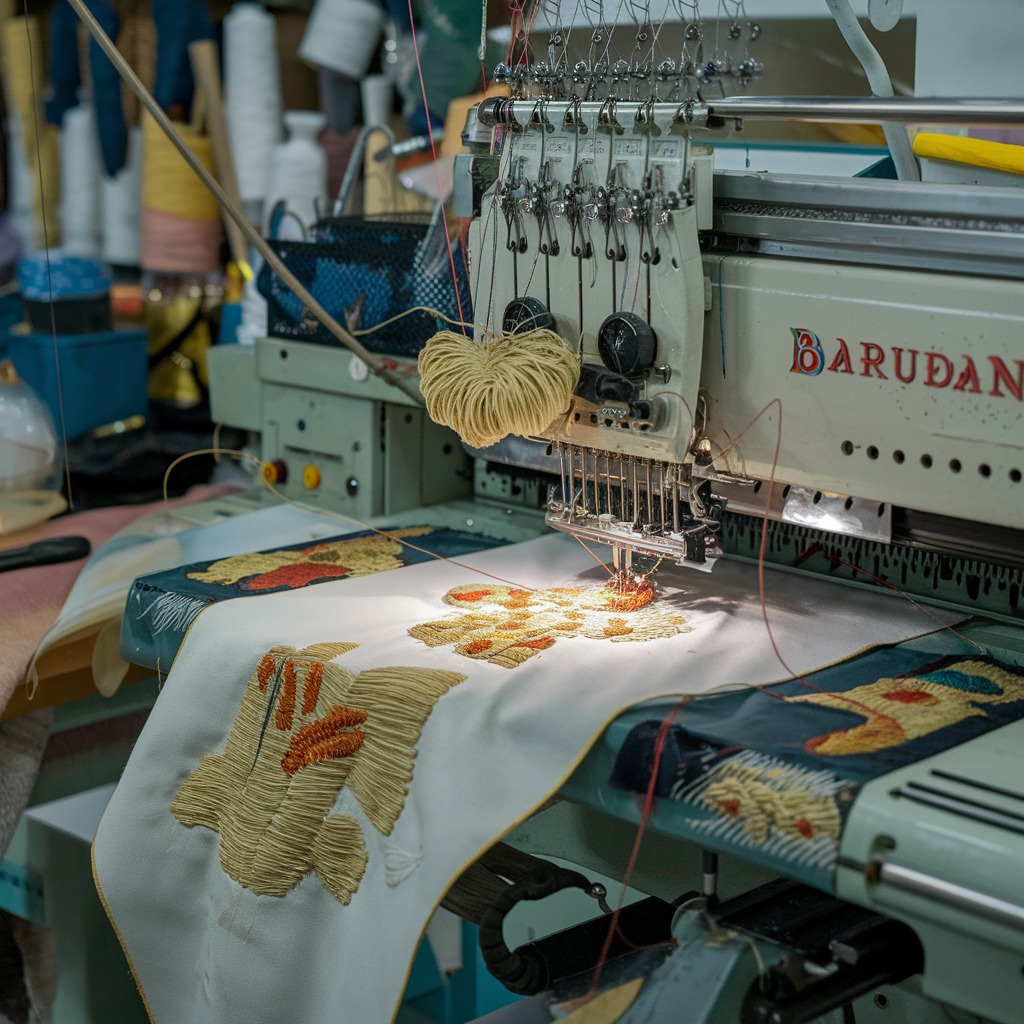
Quick answer: Regular maintenance for your Barudan BEKT series machine involves daily cleaning of the hook area and thread path, weekly lubrication of the rotary hook, and monthly inspection of key components like tension assemblies, trimmer blades, and belts. Always refer to your machine's manual for specific lubrication points and intervals.
Maintaining your Barudan BEKT series embroidery machine is crucial for ensuring consistent stitch quality, minimizing downtime, and extending the lifespan of your investment. This guide provides a comprehensive maintenance schedule and identifies common wear parts, helping you keep your machine running at peak performance. Regular care, from daily cleaning to periodic inspections, will prevent many common issues and save you time and money in the long run. Always refer to your specific Barudan BEKT operator's manual for detailed instructions and specifications.
Two-minute checks before you open anything
- Check needles for sharpness and straightness.
- Ensure the rotary hook area is clean and free of lint.
- Verify thread paths are clear and tension discs are clean.
- Check bobbin for proper winding and tension.
- Listen for any unusual noises during a test stitch.
- Confirm all safety guards are in place.
1. Needles high likelihood
How to tell
Skipped stitches, thread breaks, burrs on the needle eye, bent or dull needle points, or excessive noise during stitching. Needles are a consumable item and should be replaced regularly.
Fix
- Inspect the needle point for dullness or burrs by running a finger pad gently over the tip (away from the point).
- Check the needle eye for any nicks or rough spots that could fray thread.
- Ensure the needle is straight and not bent.
- Loosen the needle clamp screw, remove the old needle, and insert a new needle with the scarf facing the hook, pushing it up until it seats firmly.
- Tighten the needle clamp screw securely.
Parts involved: Needles & needle bars →
2. Rotary Hook and Bobbin Case high likelihood
How to tell
Frequent thread breaks (especially bobbin thread), poor stitch quality (looping, loose stitches), excessive noise from the hook area, or visible burrs/scratches on the hook point or bobbin case. The hook point can become dull or damaged over time.
Fix
- Remove the needle plate and bobbin case.
- Carefully inspect the rotary hook point for any nicks, burrs, or dullness. Use a magnifying glass if available.
- Check the bobbin case for any burrs, especially around the tension spring or thread exit points.
- If minor burrs are found, they can sometimes be carefully polished with very fine emery cloth, but replacement is often the best solution for significant damage.
- To replace, follow your machine's manual for removing the old hook and installing a new one, ensuring proper timing if required (though often a direct swap).
- Always lubricate the new hook before use.
Parts involved: Rotary hooks & bobbin cases →
Parts you may need for Barudan BEKT
In stock, tested before dispatch, Buyer Protection on every order. Part types for this problem: Rotary hooks & bobbin cases, Needles & needle bars, Thread path & tension, Presser feet & sewing parts.
 Barudan Magnetic Mighty Hoop for BEKT-S1501CBIII Pro 3, BEKT-S1501C...$ 76.99View part →
 SFRM72-FU USB Floppy Emulator for Tajima, Barudan, Happy, ZSK, Brot...$ 65.09View part →
 Barudan Membrane Panel Key Film Keyboard for BEXT Series, BEKT Seri...$ 34.29View part →
 Barudan SFRM72-DU26 Gotek USB Floppy Drive Emulator for BENS, BEAT,...$ 68.49View part →
 Hirose HSH-7.94ATR(MTQ) KHS12-RYP Rotary Hook for Tajima, Barudan, ...$ 18.09View part →
 Industrial BC-DBZ(1)-NBL6 Bobbin Case for Barudan TZ1 LE2, Brother ...$ 8.49View part →
All Barudan BEKT parts → Rotary Hooks & Bobbin Cases → Needles & Needle Bars → Thread Path & Tension →
3. Thread Path Components (Tension Discs, Thread Guides) medium likelihood
How to tell
Inconsistent thread tension, fraying thread, frequent thread breaks, or visible grooves/wear marks on ceramic or metal thread guides and tension discs. Thread friction wears these parts over time.
Fix
- Visually inspect all thread guides from the thread cone to the needle for nicks, burrs, or deep grooves.
- Check tension discs for cleanliness and smooth operation. Ensure they open and close freely.
- Run a piece of thread through each guide and tension assembly to feel for snags.
- Clean tension discs with a thin piece of fabric or dental floss.
- Replace any thread guides or tension discs that show significant wear or damage. This usually involves unscrewing the old component and installing a new one.
Parts involved: Thread path & tension →
4. Trimmer Blades (Moving and Fixed Knives) medium likelihood
How to tell
Incomplete thread trims, frayed thread ends after trimming, thread tails left too long, or a 'chewing' sound during trimming. Blades become dull or nicked with use.
Fix
- Carefully inspect both the moving and fixed trimmer blades for dullness, nicks, or damage.
- Ensure the blades are clean and free of lint or thread residue.
- Check for proper alignment between the moving and fixed blades. They should meet cleanly.
- If blades are dull or damaged, they need to be replaced. This typically involves removing retaining screws, swapping the blades, and ensuring correct reassembly and alignment according to your machine's service manual.
Parts involved: Cutters & trimmers →
5. Presser Foot and Needle Plate low likelihood
How to tell
Needle strikes on the presser foot or needle plate, burrs around the needle hole, poor fabric hold-down, or damage to the foot itself. Can be caused by bent needles or improper hooping.
Fix
- Inspect the needle hole on the needle plate for enlargement, burrs, or damage from needle strikes.
- Check the underside of the presser foot for any nicks or rough spots that could snag fabric.
- If the needle plate hole is burred, it can sometimes be carefully filed smooth with a very fine file, but replacement is recommended if damage is significant.
- Replace the needle plate by unscrewing it and installing a new one, ensuring it sits flush.
- Replace the presser foot if it is bent or damaged beyond repair.
Parts involved: Presser feet & sewing parts →
6. Belts (X/Y Axis, Head Drive) low likelihood
How to tell
Skipped stitches, misaligned designs, unusual noises (squealing, grinding), visible fraying, cracking, or stretching of the belts. Belts can lose tension or degrade over time.
Fix
- Visually inspect all accessible belts for signs of wear: cracks, fraying, missing teeth, or excessive slack.
- Gently press on the belts to check for appropriate tension (should have a slight give but not be loose).
- If a belt is worn or loose, it needs to be replaced. This is often a more involved process requiring access to internal machine components.
- Replacement involves loosening tensioners, removing the old belt, installing the new belt, and carefully re-tensioning it according to manufacturer specifications (refer to your service manual).
- Ensure pulleys are clean and free of debris.
Parts involved: Belts, pulleys & gears →
7. Floppy Drive Emulator low likelihood
How to tell
Machine fails to read designs from USB, displays 'disk read error', or the emulator unit itself shows no power/activity. These units can fail electronically or due to connection issues.
Fix
- Check the USB drive being used; try a different, known-good USB drive.
- Ensure the USB drive is formatted correctly for the emulator (FAT32 is common).
- Verify the emulator is properly seated in its bay and all cables are securely connected.
- If the emulator has a display, check for error codes or lack of power.
- If troubleshooting steps fail, the emulator unit itself may need replacement. This involves carefully disconnecting the old unit and installing a new one, such as the SFRM72-FU USB Floppy Emulator or Gotek SFR1M44-DU26 USB Floppy Emulator, ensuring correct jumper settings if applicable.
Compatible models include SFRM72-FU USB Floppy Emulator for Tajima, Barudan, Happy, ZSK, Brother, Melco, Feiya, Ricoma Embroidery; Gotek SFR1M44-DU26 USB Floppy Emulator for Tajima TMFX TMEF TFMX, Barudan BEAT BEDY BEKT, Brother, Happy, Ricoma, ZSK, Melco Embroidery Machines; Barudan SFRM72-DU26 Gotek USB Floppy Drive Emulator for BENS, BEAT, BEKT, BEKS, BEDT.
Parts involved: Floppy, USB & memory →
8. Membrane Panel Key Film Keyboard low likelihood
How to tell
Buttons on the control panel are unresponsive, require excessive force to activate, or are visibly worn, cracked, or bubbling. This is due to repeated pressing and environmental factors.
Fix
- Test all buttons on the control panel to identify unresponsive or intermittently working keys.
- Visually inspect the membrane for any physical damage, cracks, or signs of liquid ingress.
- If specific keys are consistently failing, the membrane panel likely needs replacement.
- Replacement typically involves carefully removing the old membrane (often adhered with adhesive), disconnecting its ribbon cable, cleaning the underlying surface, and then attaching the new Barudan Membrane Panel Key Film Keyboard for BEXT Series, BEKT Series, BEVS Series Embroidery Machines, ensuring the ribbon cable is properly connected.
Use Barudan Membrane Panel Key Film Keyboard for BEXT Series, BEKT Series, BEVS Series Embroidery Machines.
Parts involved: Control panels & displays →
Maintenance schedule
| When | What to do | Why |
|---|---|---|
| Daily / Before Each Shift | Clean the rotary hook area and bobbin case. | Removes lint and thread debris that can cause thread breaks, poor stitch quality, and wear. |
| Daily / Before Each Shift | Oil the rotary hook. | Reduces friction and heat, preventing wear and ensuring smooth operation of the hook. |
| Daily / Before Each Shift | Wipe down the machine exterior. | Prevents dust and lint from entering internal components. |
| Daily / Before Each Shift | Check thread path for lint and debris. | Ensures smooth thread flow and consistent tension. |
| Weekly / Every 40-50 Production Hours | Clean under the needle plate and around the feed dog area. | Removes accumulated lint and small thread pieces that can interfere with fabric movement. |
| Weekly / Every 40-50 Production Hours | Clean tension assemblies. | Removes lint and wax buildup that can cause inconsistent thread tension. |
| Weekly / Every 40-50 Production Hours | Inspect trimmer blades for sharpness and cleanliness. | Ensures clean thread cuts and prevents fraying or incomplete trims. |
| Weekly / Every 40-50 Production Hours | Check for loose screws on needle clamps, presser feet, and other accessible parts. | Prevents parts from falling off or causing misalignment during operation. |
| Monthly / Every 200-300 Production Hours | Lubricate needle bars and other specified points (refer to manual). | Reduces friction and wear on moving parts, ensuring smooth head operation. |
| Monthly / Every 200-300 Production Hours | Inspect all belts (X/Y axis, head drive) for wear and tension. | Identifies potential issues like stretching or fraying before they cause misregistration or breakdowns. |
| Monthly / Every 200-300 Production Hours | Clean the main shaft and associated bearings (if accessible). | Removes lint and debris that can impede smooth rotation. |
| Quarterly / Every 600-800 Production Hours | Inspect all thread guides for nicks or grooves. | Worn guides can fray thread and cause breaks. |
| Quarterly / Every 600-800 Production Hours | Check all electrical connections for security. | Prevents intermittent electrical issues and ensures reliable operation. |
| Annually / Every 2000 Production Hours | Consider professional technician inspection and service. | Allows for thorough inspection, timing adjustments, and replacement of internal wear parts not easily accessible to the operator. |
Stop and call a technician if
- If you encounter persistent error codes that cannot be resolved with basic troubleshooting.
- For any internal timing adjustments (e.g., hook timing, needle bar timing).
- If you suspect a motor, driver, or main circuit board issue.
- For complex mechanical repairs that require specialized tools or extensive disassembly.
- If you are unsure about a repair and want to avoid causing further damage.
Prevent it coming back
- Use only high-quality needles appropriate for your fabric and thread type, and replace them regularly.
- Use good quality embroidery thread and bobbin thread to minimize lint and thread breaks.
- Ensure proper hooping tension to prevent fabric movement and needle strikes.
- Keep your work area clean and free of dust and debris.
- Avoid forcing the machine or operating it when it's making unusual noises.
- Perform daily quick checks before starting production to catch minor issues early.
Frequently asked questions
How often should I lubricate my Barudan BEKT series machine?
The frequency of lubrication depends on your machine's usage. Generally, the rotary hook should be oiled daily or every few hours of operation. Other lubrication points, such as needle bars and main shafts, typically require lubrication weekly or monthly. Always consult your Barudan BEKT operator's manual for precise lubrication schedules and recommended oil types.
What kind of oil should I use for my Barudan BEKT embroidery machine?
Always use high-quality, clear, non-staining sewing machine oil specifically designed for embroidery machines. Avoid using general-purpose oils or lubricants not intended for precision machinery, as they can gum up mechanisms or stain fabric. Refer to your machine's manual for specific oil recommendations.
Why is regular cleaning important for my Barudan BEKT machine?
Regular cleaning prevents lint, dust, and thread fragments from accumulating in critical areas like the rotary hook, tension assemblies, and thread path. Buildup can lead to poor stitch quality, thread breaks, machine jams, and premature wear of components. A clean machine runs more efficiently and reliably.
Can I perform all maintenance myself, or do I need a technician?
Many routine maintenance tasks like cleaning, oiling, and replacing needles or rotary hooks can be performed by the operator. However, more complex tasks such as timing adjustments, belt replacements, or diagnosing electronic issues often require the expertise of a qualified embroidery machine technician. Always refer to your manual and know your limits to avoid causing further damage.
How do I know when to replace parts like trimmer blades or tension discs?
Inspect these parts regularly. Trimmer blades need replacement when they no longer cut thread cleanly, leaving frayed ends or incomplete trims. Tension discs should be replaced if they have visible grooves, nicks, or if you consistently experience inconsistent thread tension despite proper cleaning and adjustment. Any part showing significant wear or damage should be replaced to maintain stitch quality and machine performance.
From the Barudan BEVT-Z1501CII parts book
The assemblies involved in this problem, as the manufacturer lists them. Open a section to see every part number, which ones we stock, and get a price on the rest.
- 01a Head Bed A36 parts · 4 in stock
- Head Bed A30 parts · 4 in stock
- 01 A Head Bed A30 parts · 4 in stock
- 02c Thread Cut C22 parts · 4 in stock
- 04b Needle Bar B35 parts · 3 in stock
- 10g Pantograph Drive G38 parts · 1 in stock
Reference book: Barudan BEVT-Z1501CII. Part numbers differ by model - search yours below and we will confirm fit.
Did this guide fix your machine?
Rate it - it helps other operators find the right fix.
Not sure which part is failing?
Need the logo stitched too?
Get your logo digitized by the people who know this machine
Upload the artwork, see the stitch count and the exact price in 10 seconds, then order with a free sew-out preview. $1 per 1,000 stitches, $10 minimum, 24-hour delivery. Vector conversion from $12.
After the fix
Fixed it? Keep the rest of the shop moving.
OS 360 is the shop software from the team behind this parts store. Every job keeps its status, deadline and owner while a BEKT head is down, restock alerts fire for needles, hooks and bobbins before you run dry, and quotes, invoices and payment live in one place.
- Jobs with status, deadline and owner - nothing slips during downtime
- Inventory with restock alerts, this store one click away
- Instant quotes, invoices and one place to collect payment





